
Use These Pro Tips to Take the Best Christmas Light Photos with iPhone
 Pixels
The holidays are here and you know what that means – lots of pictures to take of Christmas lights, especially outdoors! But whether you are celebrating a particularly awesome lighting project of your own or snapping a pic of an incredible display in your neighborhood to share with friends, you may have noticed a problem: Cameras, especially smartphone cameras, aren't really built for taking pictures of complex lights in dark environments, and the results can be...embarrassing.
We're not all professional photographers who know how to deal with this tricky situation, and that's alright! Fortunately, your iPhone has a number of tools to help you take better Christmas light photos. Let's catch up on the features and practices that will lead to amazing shots of Christmas festivities at night.
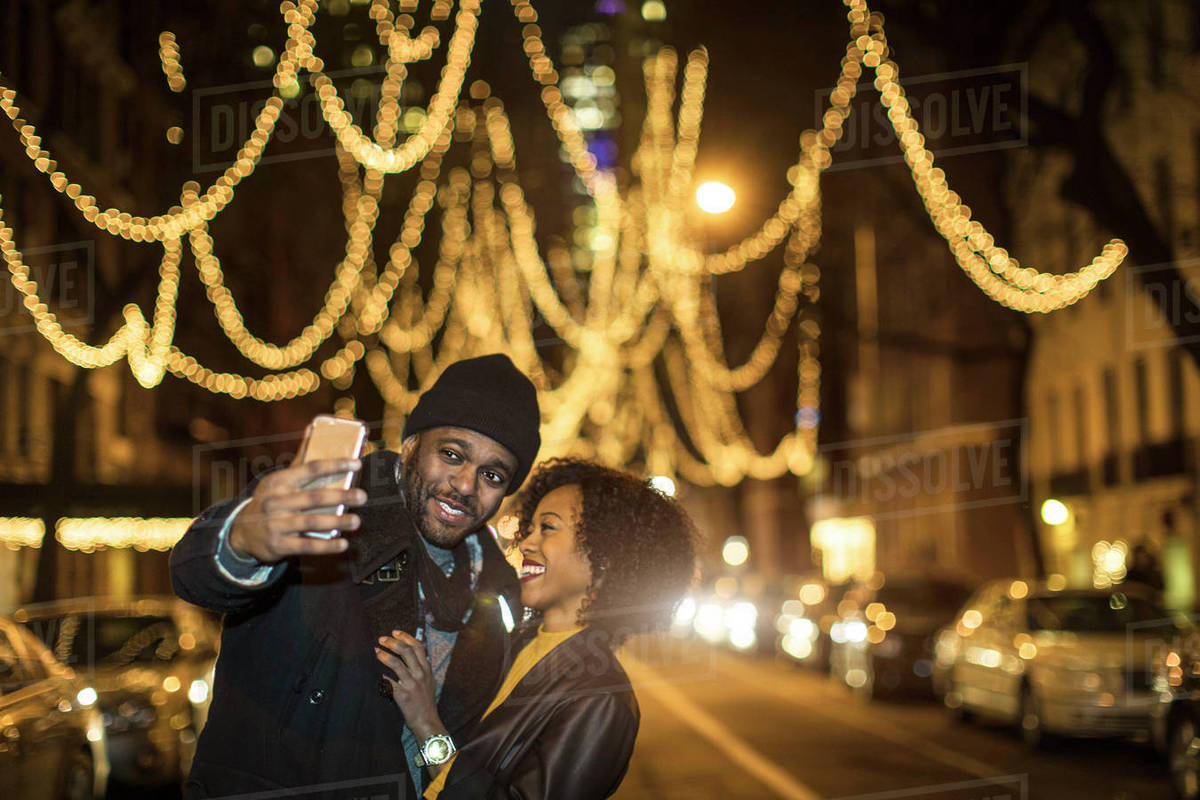
4 Use Portrait Mode

Newer iPhones (7 Plus and newer) come with Portrait Mode that uses the dual camera functionality to take better foreground pictures while blurring the background a bit. But the other good news about portrait mode is that it typically takes in more light than the traditional mode. Combine that with the good results that portrait shots can render of deeper Christmas light scenes and Christmas trees, and so it's always a good mode to start out with when trying to get just the right shot.
On a similar note, your iPhone comes with some very good stabilization technology, but software can only do so much, especially when working with portrait mode. Even a little shaking can drastically blur all those little points of light. For the best pictures, either get a tripod or tuck in your elbows and make sure there is no movement at all when you are taking the picture.
3 Don't Focus on the Lights
You can usually tap on the screen to convince the Camera app to focus on particular features and adjust the exposure when taking your iPhone photograph. This is almost always a bad idea when trying to capture Christmas lights. Tapping anywhere on the screen is likely to make the software try and focus on a particular light or set of lights, which often blurs things even worse and makes everything a bit distorted. Avoid trying to use focus features when snapping these pics, and instead just work on getting everything on the screen.
The exception is when you are getting really poor results and can't really see anything but some lights in the darkness. In this case, you can try to carefully tap one of the dark areas of the screen. This can cause the app to adjust to that dark area and hopefully provide a little more clarity. Remember that you can also adjust the exposure manually to see if that will help.
A related and hopefully obvious piece of advice is to avoid the flash during these situations. It won't help! Take a moment to make sure it's turned off.
2 Wait for Twilight

Don't take pictures at night. Generally, even dedicated cameras struggle taking good pictures of Christmas lights when it gets too dark outside. Instead, the professionals go out at twilight and start taking shots when it's dark, but there's still some ambient light. This helps the camera to capture the beautiful illumination of Christmas lights without everything getting lost in the shadows.
The same is true of your iPhone app! So when it starts to get dark, make sure the Christmas lights are on, and begin snapping photos. As twilight cycles to night, you should be able to find an ideal balance between the dark background and your photo clarity.
1 When Desperate, Get a Third Party App
Third Party apps allow you to control shutter speed and specific ISO settings, which can be particularly beneficial when trying to snap tough light pictures in darker conditions. A slower shutter speed can help capture more detail if it's too dark for regular pictures (around 1/8th of a second works well at night), while a faster speed can make twilight look even darker. ISO settings can help you control noise and distortion that so often plagues Christmas light photos. Try an ISO setting under 400 to see if this helps. There are many apps to choose from, but Slow Shutter Cam is an effective $2 app that's well worth a try even for high-resolution images.