
Shoot Perfect Professional Quality Photos on iPhone with These Important Tips
 Credit: Moment
Are you getting ready to shoot professional photos with your iPhone? You know the shots – the pictures you want to use for a blog, or to really impress someone on Instagram, or maybe to use in a business or a portfolio. Those shots take some work, and while the latest models of the iPhone come with some great camera functions that enable clean, high-definition photos, there's still a lot you can do to make your photos even better. Continue reading to learn 6 top suggestions for capturing perfect photos with your iPhone!
6 Remember to a Choose Focal Point
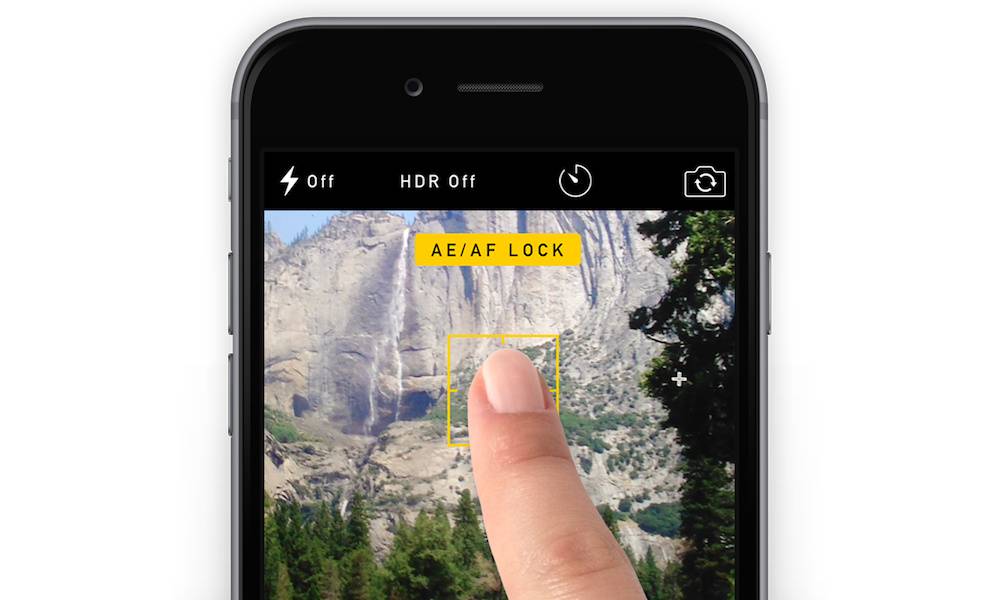
When using the iPhone camera app, you can tap and hold any spot on the screen to set your focal point. This is extremely useful for more advanced forms of photography, especially where you want a macro shot that focuses on a particular nearby subject while properly blurring the rest – or when the iPhone just can't seem to auto-pick the right subject and you have to do it yourself. Either way, this ability frequently comes in handy when trying to take great professional photos.
5 Use HDR Wisely
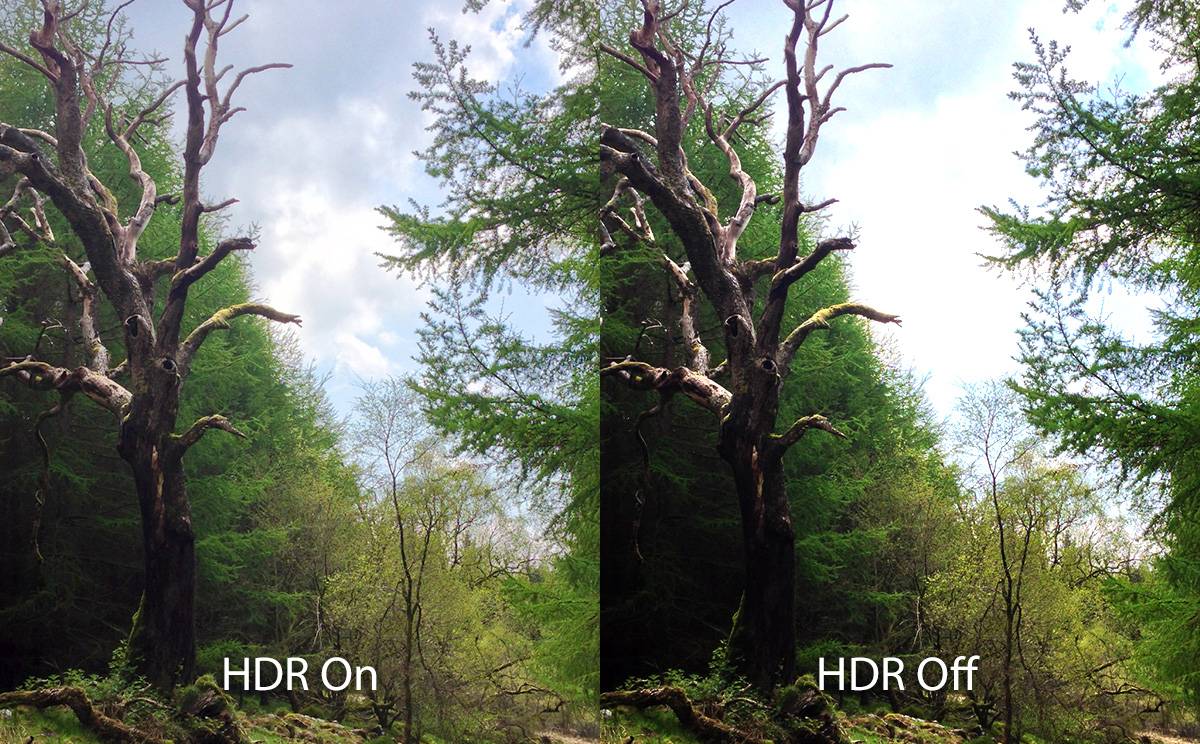
HDR is an automatic mode on the iPhone camera app. It takes three different pictures, more or less at the same time, with three different exposure values. Then HDR analyzes the photos and merges them together to create the best effect possible. You don't always need to have this mode turned on – in fact, it can make some pictures turn out oddly – but it's an excellent tool for taking photos where there's a lot of light contrast. If you are snapping a photo of a sunset, or outdoor lighting, or a concert (and so on), make sure HDR is on first. Turn Auto HDR on or off in Settings > Camera > Auto HDR.
4 Use the iPhone's Volume Buttons

The iPhone does come with image stabilization (at least, with the last few generations), but that stabilization can't always save your photos, especially if you jerk a little at the last second. Taking pictures in landscape orientation – which is how most professional pics should be taken – makes it a little difficult to tap the onscreen camera button, so wavering may be a problem. Fortunately, the volume buttons on your iPhone also act as a shutter button, so you can press it to snap your pics. This is a much safer method if you want to avoid the shakes and take crystal-clear photos. This trick also works with your Apple headphones for even steadier shots.
3 Use External Lenses

An external lens is very important if you want to take the very best macro or fish-eye shots. If your iPhone photography embraces this kind of creative, invest in an external lens that you can attach to your iPhone when necessary. There are a whole lot of options to choose from here, but we suggest looking through the high-quality Moment lenses, which are some of the best you can find for smartphones. Follow this link for a few more-affordable options.
2 Try a Third Party App for Greater Control
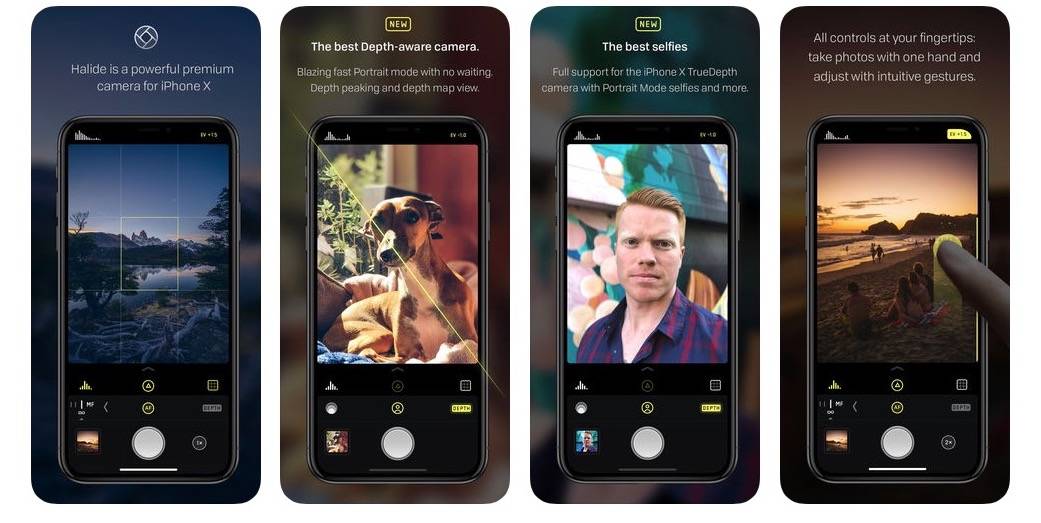
Do you have experience with traditional cameras and professional photography? Do you know how to adjust shutter speed, white balance, ISO, exposure, and other settings to create the perfect photo? In that case, the native iPhone camera app may be a little too limited for you. We suggest looking for a good third-party camera app instead, one with the ability to save in a greater number of photo formats and adjust settings precisely. The Halide app is a great place to start.
1 Avoid Using the Flash
It may seem a little strange, but the iPhone camera flash really isn't a great way to capture excellent photos. Adjust exposure and other settings if necessary, but don't turn on the flash. If conditions don't allow for a good flashless photo, then wait for a better time to take the photo... or invest in a studio lighting kit for your iPhone. Either way, avoid the flash – it leads to sloppy, poorly-lit photographs with contrast issues.