
New to Mac? Here Are 15 Things You Need to Do First
 Credit: Omar Tursic / Shutterstock
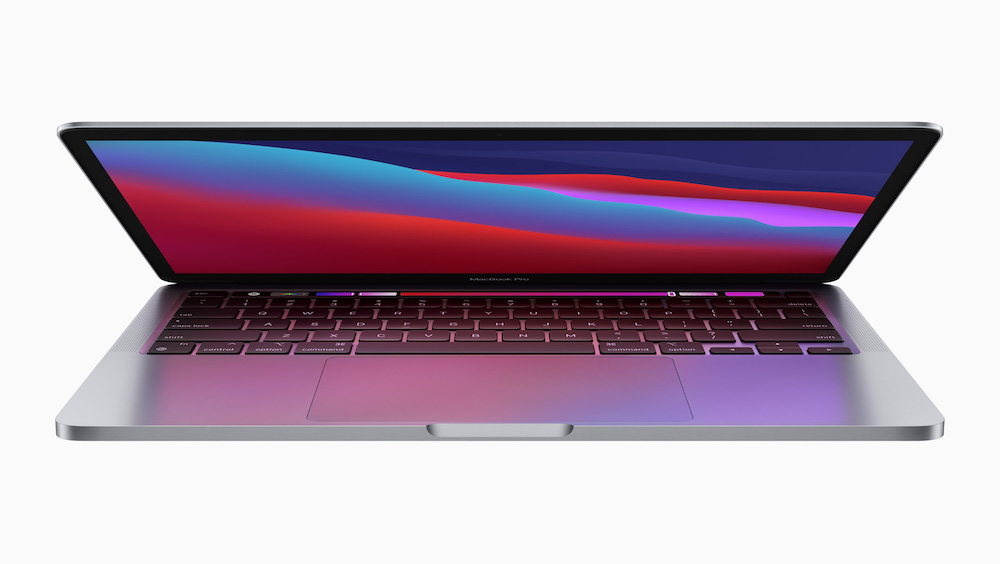
Is this your first time getting your hands on a Mac computer? Did you get hyped up because of the new M1 MacBooks and decided it was time to finally make the switch? Or maybe you got one as a gift and you're getting ready to start using your brand new Mac. If so, welcome! The Mac is a wonderful world filled with many cool features and useful tools that you won't find anywhere else.
However, if you're used to the Windows operating system, getting started with macOS can be a bit overwhelming. There are a bunch of things you need to set up and a lot more things you need to learn. It's not hard, though. It'll only take you some time to get used to it. The most important thing is to start things off on the right foot. There are some things you might want to set up from the get-go, before diving into your Mac completely.
I know this isn't necessarily fun, but it is necessary. If you want your Mac to work smoothly from the start, you need to get it ready for your everyday tasks. If you don't even know where to start, continue reading to browse 15 things you'll want to do on your new Mac computer.
Set up Siri
If you've used Siri before, you know how useful it is. Apple's virtual assistant is one of the best ones out there, and it works great perfectly with all your Apple devices, including your Mac.
The first time you turn your Mac on, you'll be asked if you want to set up Siri. If you didn't do it, or want to check your Mac's Siri Settings, here's how you do it:
- Click on the Apple Menu on the top left corner of your screen.
- Click on System Preferences.
- Select Siri.
Once you're in the Siri settings, you can play around to set it up the way you need it. You can also make it so Siri gets activated when you say "Hey Siri" You do this by enabling Listen for "Hey Siri" and following the instructions you'll Mac will give you.
Set up Touch ID
About four years ago, Apple started implementing Touch ID on the MacBook Air and MacBook Pro models. If you've got yourself a fairly recent MacBook, you probably have a button on the top right corner that looks like it's made out of glass. That's the Touch ID which also works as a Power button.
Having Touch ID enabled not only helps you unlock your MacBook faster, but you can also use your fingerprint to do things like using Apple Pay, autofill your passwords, and download and delete apps from your Mac.
Just like Siri, you'll be asked to set up Touch ID right from the start. However, you can add more fingers, delete current fingers, change their name, and even choose what you want to use Touch ID for. Here's how you do it.
- Click on the Apple Menu on the top left corner.
- Go to System Preferences.
- Click Touch ID.
- To change the name of a fingerprint, click on the name of the finger. By default, it's called Finger 1, Finger 2, and so on.
- To add a fingerprint, click on Add Fingerprint. You may be asked to enter your password. Follow the instructions to add a new fingerprint. Note that you can only add up to three fingerprints.
You can also choose what you want to use Touch ID for by enabling or disabling the options on the list at the bottom of the Touch ID window.
Download Your Favorite Apps
If you're coming from a Windows computer, you might not know how to install your favorite apps and programs into your Mac.
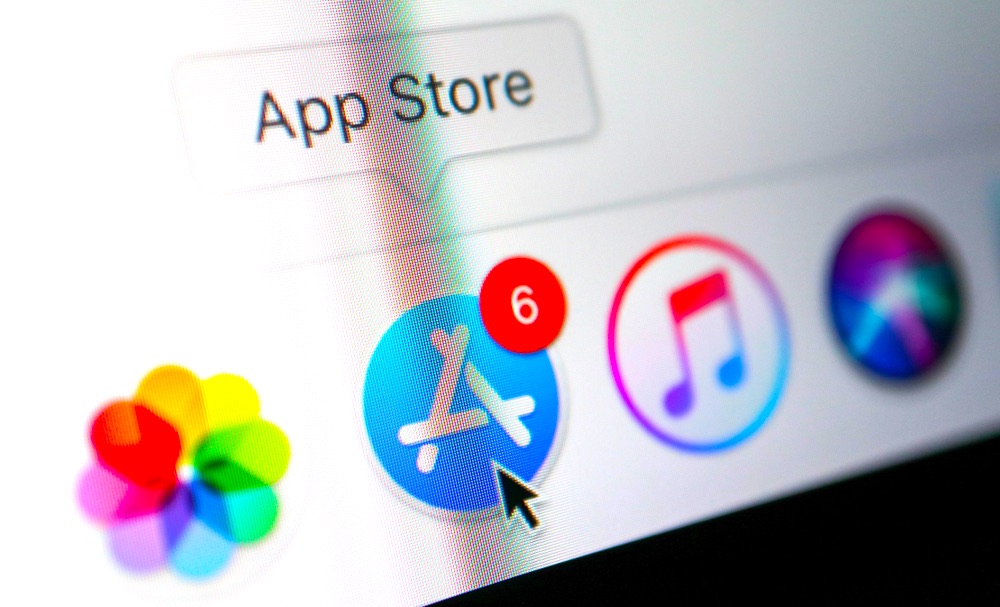
Just like with any PC, you can download and install apps to your Mac from all over the web, but you'll commonly find the most popular apps right on the Mac's App Store.
Microsoft Word, FaceBook Messenger, Slack, Skitch, and many other apps. You can find them all right on the App Store, instead of browsing around the web to find the right app. If you need to download a new app to your Mac, make sure to search it on the App Store first. Not only is it easier but's also safer for you and your Mac.
Make Sure Your Mac Is up to Date

Keeping your Mac up to date is an important step, whether you just started using it, or you've been using it for a while now.
It's possible that new updates are fixing bugs or even security problems that any operating system has. Having the latest updates installed can help to fix any issues you have on your Mac, or any device for that matter.
Here's how to check for the latest updates on your Mac:
- Click on the Apple Menu on the top left corner.
- Go to System Preferences.
- Click Software Update.
- Your Mac will automatically look for updates. If there's an update available you can download it and install it right then and there. You can also check Automatically keep my Mac up to date if you don't want to worry about it.
Sign in to iCloud

If you already have an iPhone or an iPad, you probably already know and use iCloud. And if you already signed in to your Apple ID, chances are you're using your iCloud account on your Mac as well.
The beauty of using iCloud is that you can seamlessly switch from your iPhone to your Mac and continue doing what you were doing. You can talk with the Messages app, you can make calls and see your photos.
You can control which apps on your Mac and manage your storage if it's getting full. Here's how to do it:
- Click on the Apple Menu.
- Select System Preferences.
- Click on Apple ID. You'll find it on the top right corner of the System Preferences window.
- Click on iCloud on the left sidebar menu.
You can see which devices are connected to your Apple ID, as well as manage your iCloud storage and the apps that use it.
Set up the Mail App
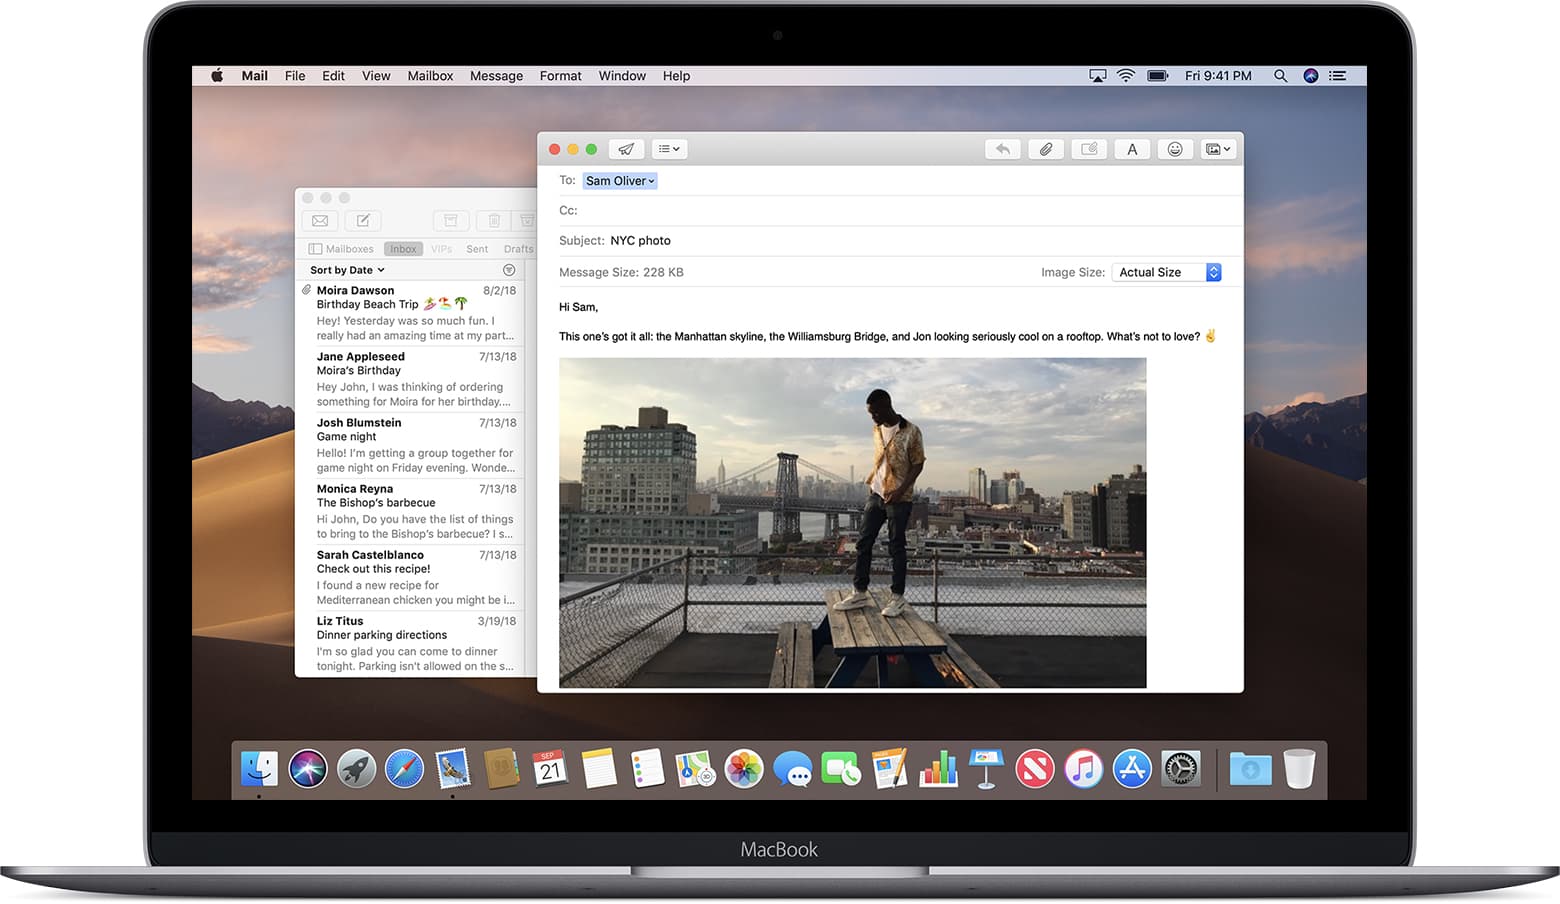
The Mail app on your Mac is full of useful features that make it a must-have in your everyday work life. Setting it up is easy and it'll only take a few clicks.
Afterward, you'll control your email from your Mac, and be up to date with the latest emails thanks to the Notification Center.
One neat feature is that you can have more than one account in the Mail app. You can switch between accounts and check your emails from work and your personal account almost at the same time. Here's how you can do it.
- Open up the Mail App on your Mac.
- Click on Mail located on the top menu bar.
- Select Add Account...
- Choose your Mail Provider and follow the instructions to add a new email address.
Use the Calendar App
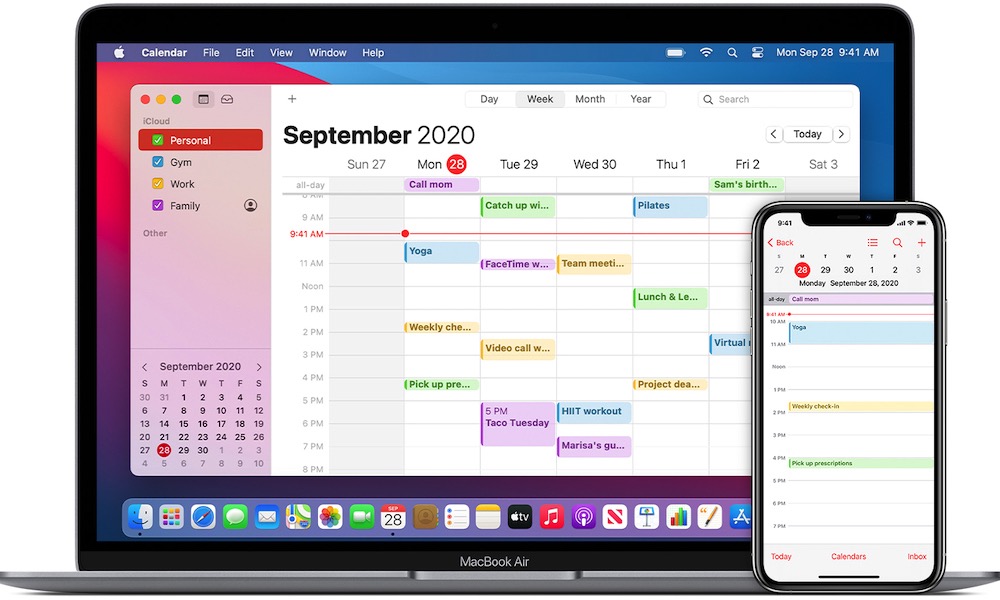
Another essential app you can, and should use on your Mac is the Calendar app. If you're not an Apple user, you probably are more familiar with Google Calendar, which is another amazing calendar app.
Both Apple's Calendar app and Google Calendar have everything you need to keep track of important dates, festivities, and future meetings. The best part of having a Mac is that you don't have to choose between one or the other.
You can actually sync your Google Calendar events so they appear right on your Mac's calendar app. It doesn't take much time and it'll save you a lot of trouble in the future. We've already covered how to switch between Apple and Google Calendar without losing your events, so I'd recommend you go and check it out if you want a more in-depth explanation.
If you're not used to using a calendar app, Apple's Calendar is a great place to start. The interface is easy to understand and you get all the basic tools and features you need to keep track of your events. Plus, if you're already using an iPhone, it'll sync your events across all your devices in a flash.
Sync Your Photos Using the Photos App
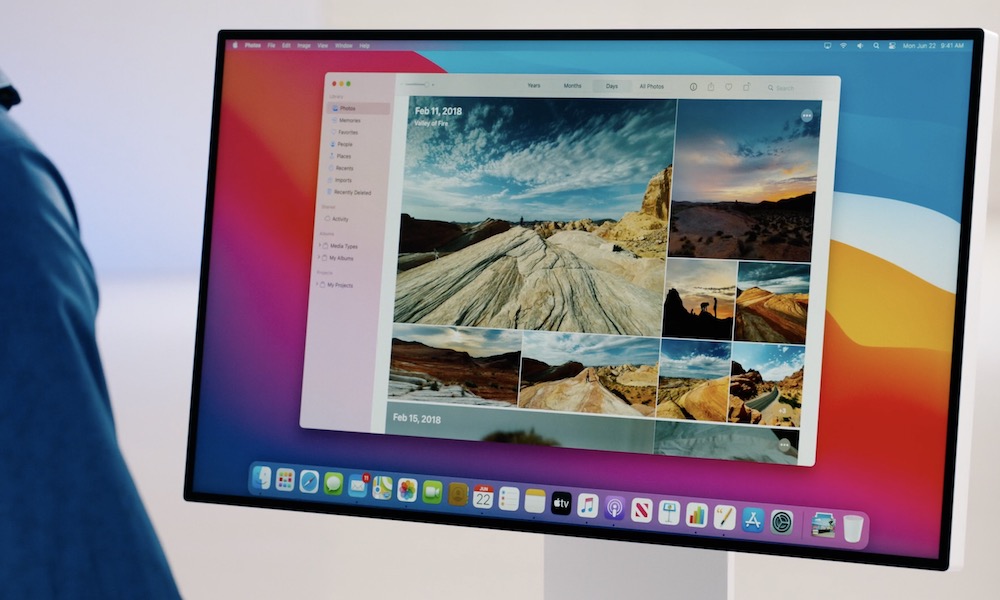
The great thing about being part of the Apple ecosystem is how easily everything syncs. If you already have your iCloud account set up, you can easily find the pictures you take across all of your Apple devices. This happens in an instant, and once you've set it up, you don't have to do anything else.
On your Mac, however, even if you already set up your iCloud account, chances are you aren't seeing all your pictures in the Photos App. If this is happening to you, there's a small tweak you need to do to see all your photos.
- Launch the Photos App on your Mac.
- Click on Preferences...
- Click on the iCloud Tab.
- Check iCloud Photos.
You can also tweak the settings so you optimize your Mac's storage. After you check iCloud Photos, the Photos app will automatically start updating with the pictures and videos you have on your iPhone or iPad.
In the meantime, the Photos app will keep an "Updating" message. This process might take a while, it'll all depend on the number of pictures you're syncing.
Learn New Keyboard Shortcuts
If you're used to the Windows operating system, you'll find that the keyboard shortcuts are slightly different. You can still have the shortcuts you're used to, like copy/paste, closing apps, and switching between windows, but you'll need to learn to use a different kind of keyboard.
There are a ton of keyboard shortcuts you can learn, way too many for us to include in this article. But if you really want to master keyboard shortcuts on your Mac, here are over 50 keyboard shortcuts you need to learn.
Change Your Default Browser

Browsers are a dime a dozen these days and you really can't go wrong with any of them It's just a matter of personal preference. Although, I'll admit some of them are probably not worth your time.
However, if you're switching from a Windows PC, you're probably not familiar with Apple's browser Safari. Although it may be a bit different than what you're used to, Safari is filled with amazing features and awesome tools that make it one of the best browsers available. And, as you'd expect, it works better on your Mac than any other browser.
That being said, I understand if you want to keep using another browser like Google Chrome or Mozilla Firefox. Old habits die hard after all. The good news is that you can download and use any browser you want, but you'll need to make it your default browser.
Most browsers will ask you to make them your default browser when you first use them, but if you want to know how to do it yourself just follow these steps.
- Open the Apple menu on the top left corner.
- Click System Preferences...
- Click on General.
- Near the bottom of the window, you should see an option that says Default web browser. Click on the drop-down list and select your browser of choice.
Use Dark Mode
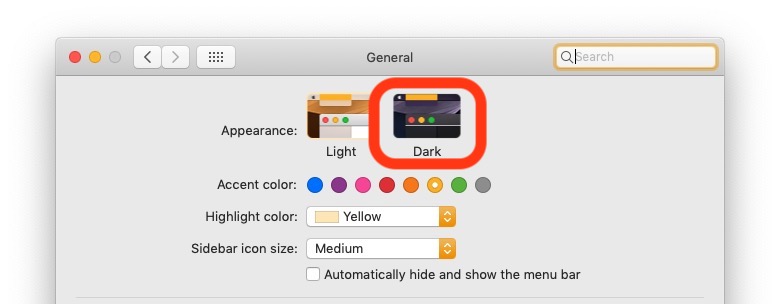
Ever since last year, Apple devices like the Mac and iPhone have added a Dark Mode feature that people have been yearning for. If you're one of those people, here's how you can turn Dark Mode on your Mac.
- Go to the Apple Menu in the upper left corner.
- Click on Preferences...
- Click General.
- In the Appearance option, you can choose to use a light or dark theme. You can also select Auto so your Mac changes between light and Dark mode depending on the time of day.
Customize Your Desktop
Your desktop is one of the few places where you can add your own pictures to customize it just the way you like it.
Granted, you won't spend that much time on your desktop to worry that much about having the perfect wallpaper or desktop picture, but it's nice to have it just the way you like it.
Here's how you can change your desktop wallpaper.
- Go to the Apple Menu in the upper left corner.
- Click on Preferences...
- Click Desktop & Screen Saver
- Make sure you're in the Desktop tab.
- Browse through your folders on the sidebar menu and choose the picture you want to use.
If you don't know which one to choose, Apple has a bunch of default wallpapers that are really pretty. There are also some dynamic wallpapers that'll change colors depending on if you're using dark or light mode.
And, as you probably noticed, you can also change your screen saver from here. Just click on the Screen Saver tab and choose the perfect one for you.
Customize Your Dock
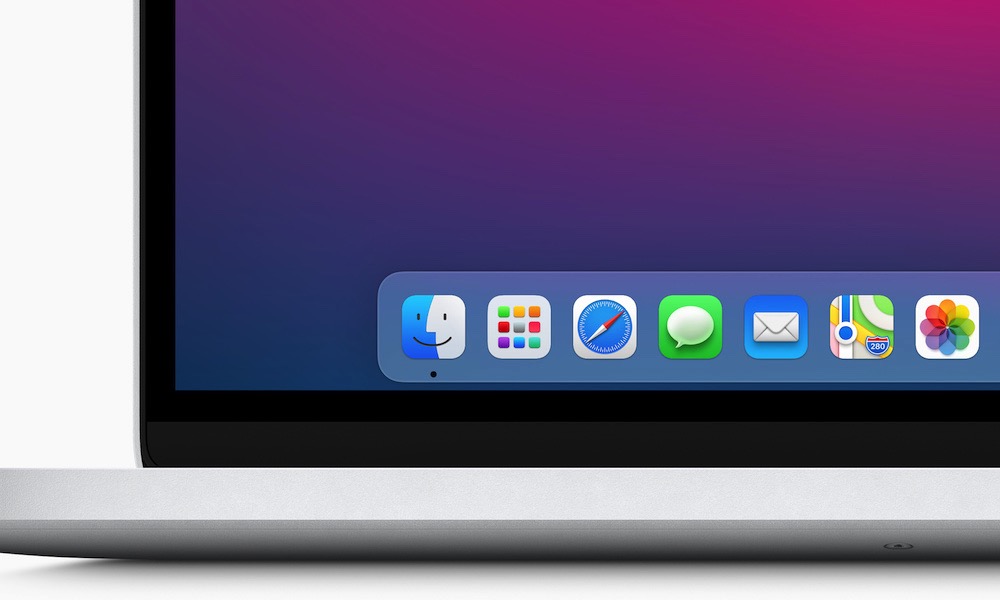
Probably the hardest change to get used to when switching from Windows to macOS is the Dock.
You're probably used to having a small bar at the bottom of your PC with a Windows button to the left. This changes completely on the Mac since you're using a Dock that comes with a bunch of apps already in it.
Getting used to the Dock can be hard, but you can customize it to make your transition a bit smoother. Here's how you can have your Mac's Dock just the way you like it.
- Go to the Apple Menu in the upper left corner.
- Click on Preferences...
- Click on Dock & Menu Bar.
Here you can change the position and size of your Dock, as well as change some basic gestures and settings.
If you want to add or remove apps from your Dock, you need to do this.
- Control-Click or right-click on an app icon on the Dock. You do this on a MacBook by clicking with two fingers at the same time on the trackpad.
- Click on Options.
- Click on Remove from Dock or Keep in Dock, depending on what you want to do.
Customize Your Widgets
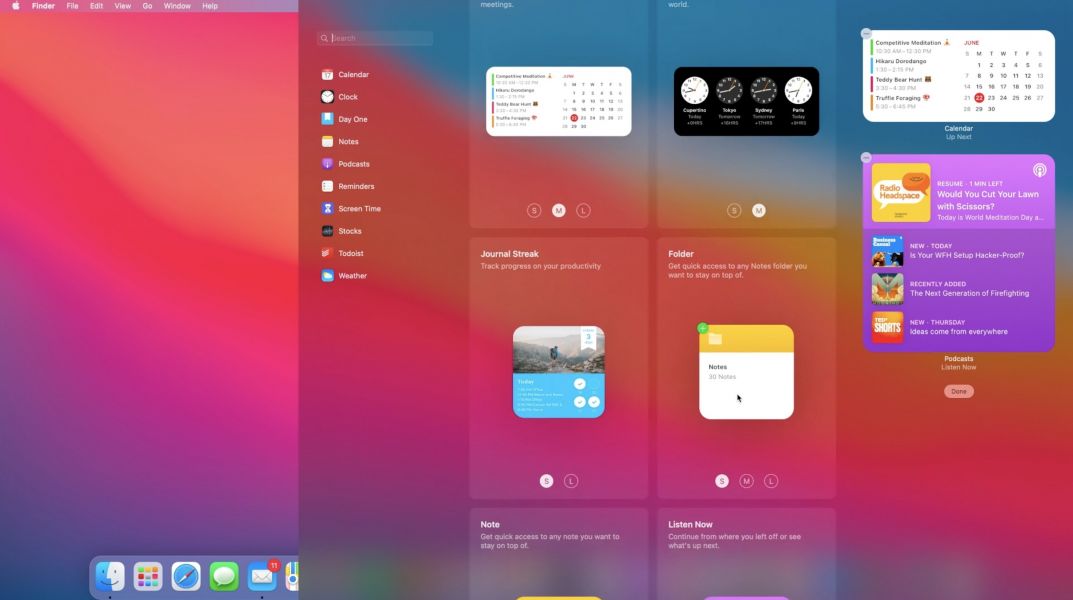
Widgets are a hot topic across all Apple devices. Not only you can use widgets on your iPhone's Home screen for the first time, but macOS Big Sur brought a bunch of widgets to the Mac as well.
The great thing about widgets on the Mac is that if you don't want to use them, they will never bother you since they're hidden in the Notifications Center. However, you'd be missing out on some quick and helpful tools for your everyday life.
Here's how you can see and customize your widgets on your Mac.
- On your Mac, click on the Clock at the top right corner to access widgets and the Notification Center.
- You'll see a list of all the widgets you have available right now.
- To change your widgets scroll to the bottom and click on Edit Widgets.
You'll see all the widgets you have available on your left, and a preview of said widgets in the center of your screen. You can drag and drop them to the right of your screen to add new widgets and place them where you want to.
You can also delete widgets from the Notification Center by clicking on the "-" button located on the top left corner of each widget.
As of right now, most widgets you'll see, if not all, are from Apple itself. However, this should change in the future once developers start working on widgets for Big Sur.
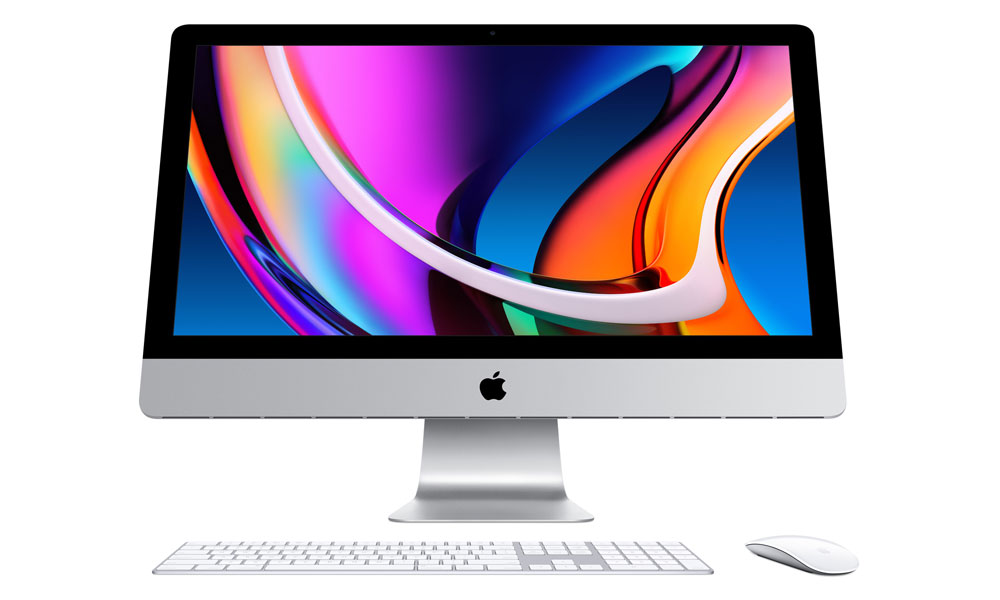
Learn More About Your Mac
When you first unbox and start your Mac, everything may seem confusing, especially if it's your first time using a Mac computer.
It can be frustrating, even more so because there aren't any manuals in the box. However, even if it feels like you're left on your own from the start, there's a light at the end of the tunnel. You know, besides this article that you hopefully found helpful.
You actually do have manuals you can read to learn more about your Mac, the only thing you need to do is know where to look. Here's how you can find the manuals.
- Open the Apple menu.
- Click on About this Mac.
- Click on the Support tab.
You'll see a bunch of Mac and macOS resources for you to read and learn from. There are also some helpful guides to troubleshoot the most common problems you may find on your Mac. Aftward, it's a matter of time before you completely master your Mac and the macOS ecosystem.