AirPods Have Features That a Majority of Users Aren’t Aware of – Are You?
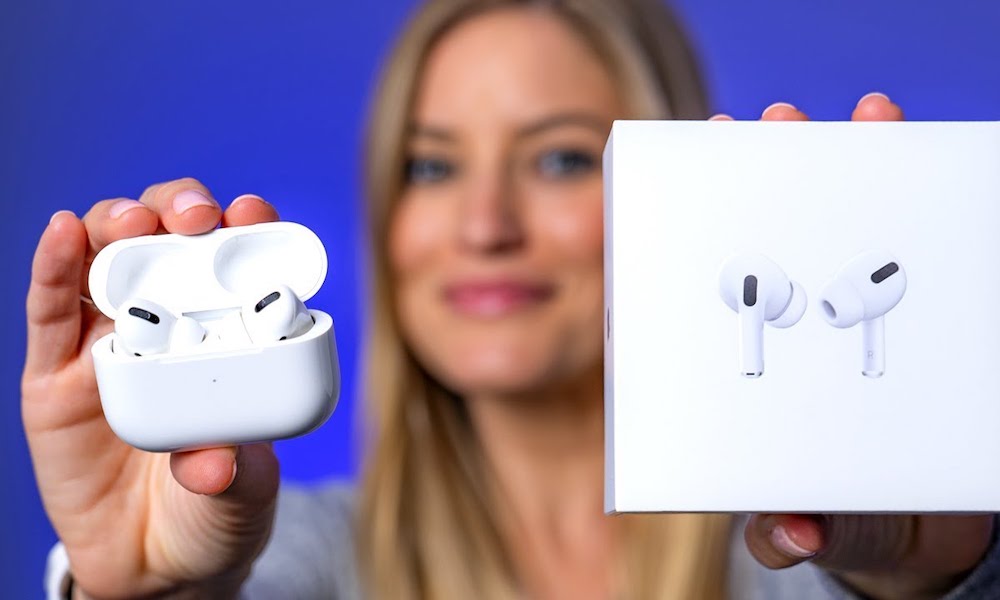 Credit: iJustine / YouTube
AirPods have become a style, a musical solution for every activity and even a popular meme – and you may very well have recently picked up a pair. Well, the good news is that AirPods and AirPods Pro are intrinsically very easy to use, particularly if you already use Apple's mobile devices.
You don't have to do much more than open them up and pop them in your ears – literally. However, there's a lot going on behind the scenes, including many features you can enable or change to get the most out of your AirPods. Features that many users aren't even aware of.
Let's go over everything you need to know about setting up those AirPods and customizing them just the way you like. Continue reading to learn 10+ AirPods tips that a majority of users aren't aware of.
Announce Calls and Texts
If you go to Settings and select Phone, you will see an option for Announce Calls. If you select this and choose Headphones Only, then Siri will announce any recognized calls when you get them, via your AirPods.
This is a great feature to enable if you plan on using your AirPods while exercising or doing other activities where you can't just glance at your phone.
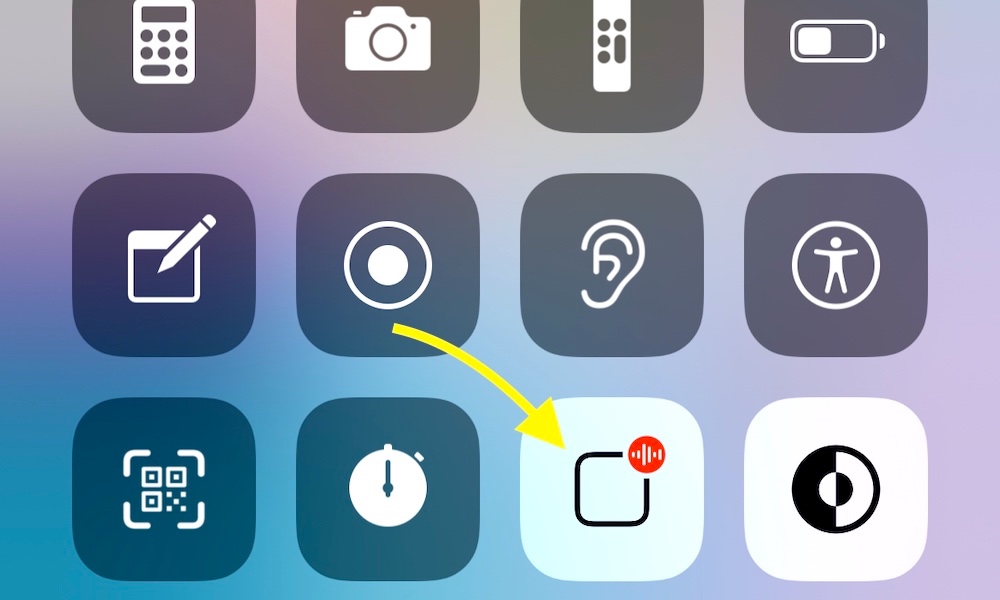
Newer AirPods are also capable of announcing new text messages. Just find the button in Control Center while they're connected to your iPhone.
3 Ways to Read Battery Life
AirPods claim around five to six hours of battery life, but that rarely happens in the real world (you can expect at least three hours or so on a full charge, though). But tracking the battery takes a little getting used to because there are several ways to do it.
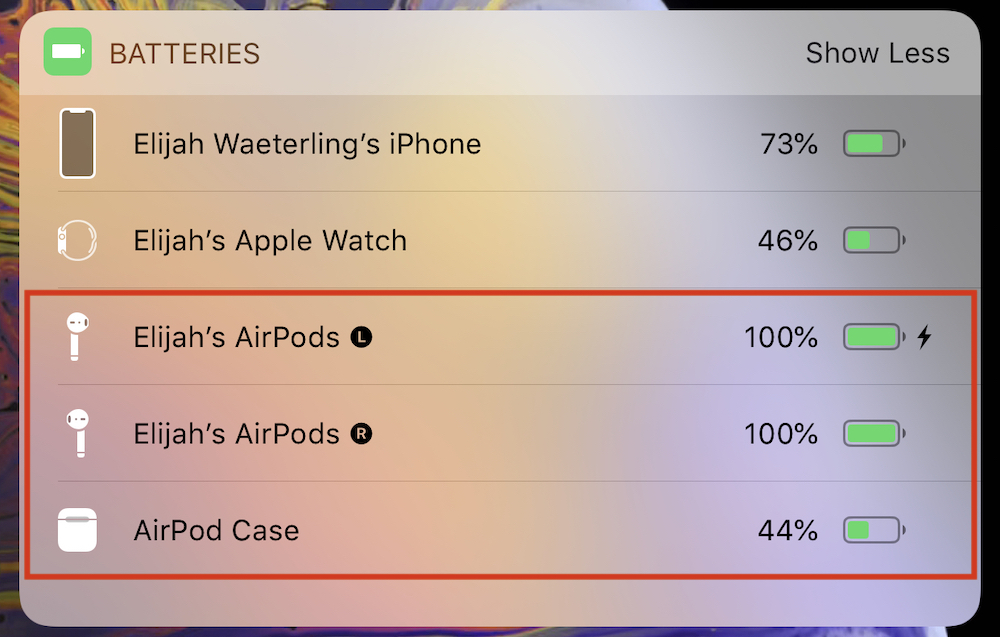
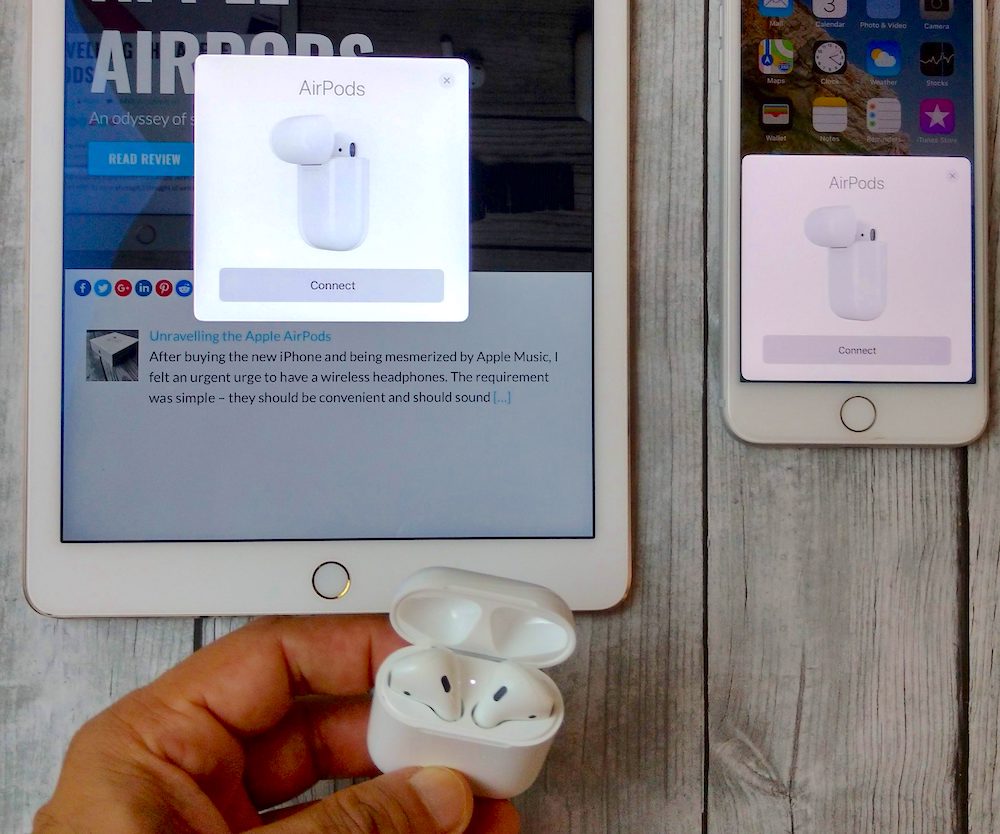
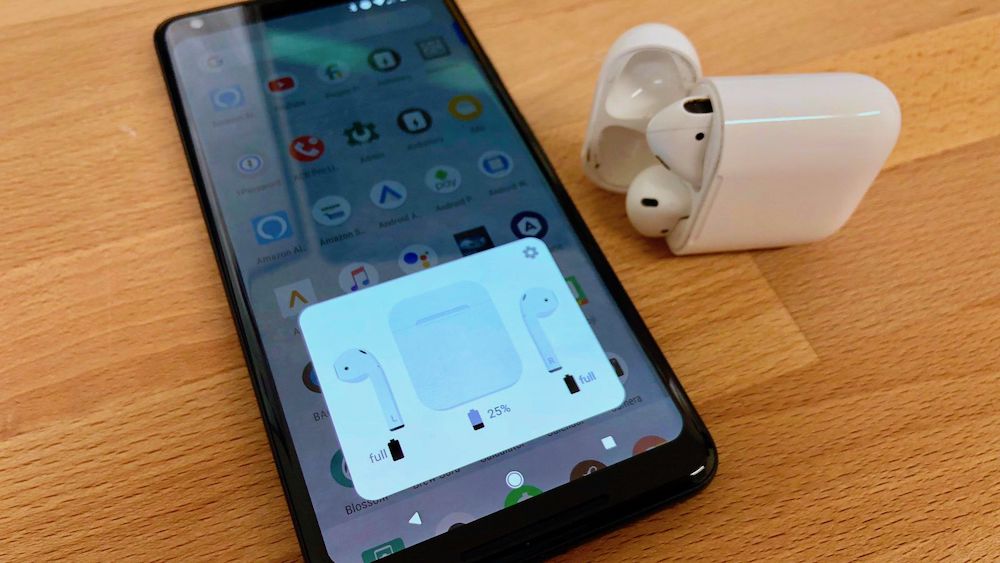
Flip the Case: First, you can flip open your case nearby your iOS device. This will automatically display the case and both AirPods, with three different battery percentages for each (we have found this method to be a little hit or miss, but it usually works as long as you try it before you unlock the home screen).
Ask Siri: Or you can make sure Siri is turned on, and just ask her about your AirPod battery life. She'll tell you where the battery is at, no problem. This is great for workouts or other situations where your hands are already occupied.
Use the Batteries Widget: Finally, if you swipe right to the Today View on your iPhone's Home or Lock screen, while at least one AirPod is in your ear or the case is open, you can see your AirPods' battery life in the battery widget. Learn more about widgets here.
Name Your AirPods Something Unique
There are many reasons you might want to change the name of your AirPods, but no matter what the reason is, it's simple to do.
- Flip open the case of your AirPods and unlock your connected iOS device.
- Go to Settings.
- Then head to the Bluetooth section.
- Find your AirPods in the list, and tap the blue "i" icon.
- and here you will see a Name section where you can enter a new name of your choice.
The new name will appear on all of your connected devices.
Customize the Tapping Feature
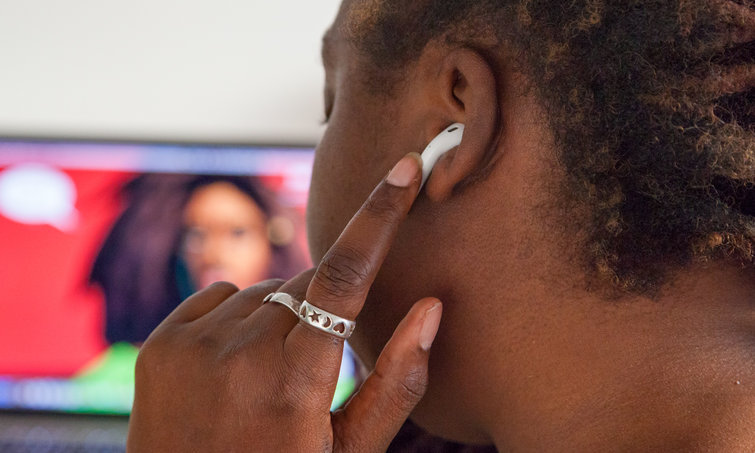
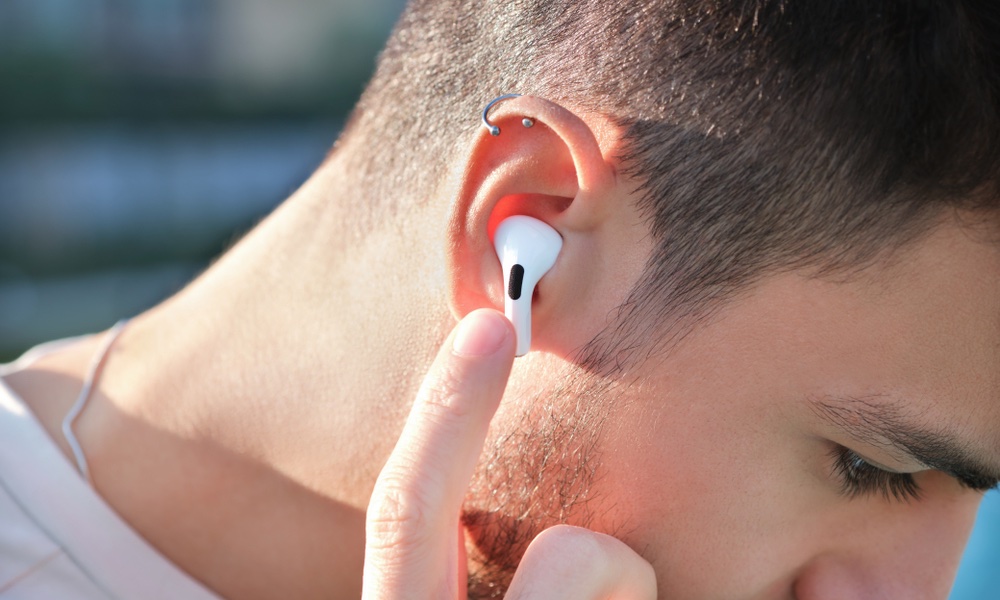
By default, a double-tap on an AirPod (while in your ear) will activate Siri so you can ask a question. Siri can pause, control volume, and play specific playlists, etc. It's handy unless you don't use Siri much.
You don't have to use the tapping feature to control your AirPods if you don't like it – it's not necessary for AirPod management and it's easy to do everything right from your iPhone. But you should at least be trying it out to see what tapping does and if you can customize it to be useful.
Keep in mind that AirPods Pro utilize a unique squeezing method, although it achieves the same results.
To start, make sure double-tapping is turned on in your AirPods' settings.
- Head to Settings.
- Tap Bluetooth.
- Find your AirPods, and select the blue "i" icon.
- Find Double-Tap on AirPod or Press and Hold AirPods where you can select separate commands for each earbud.
Find Your AirPods Anywhere
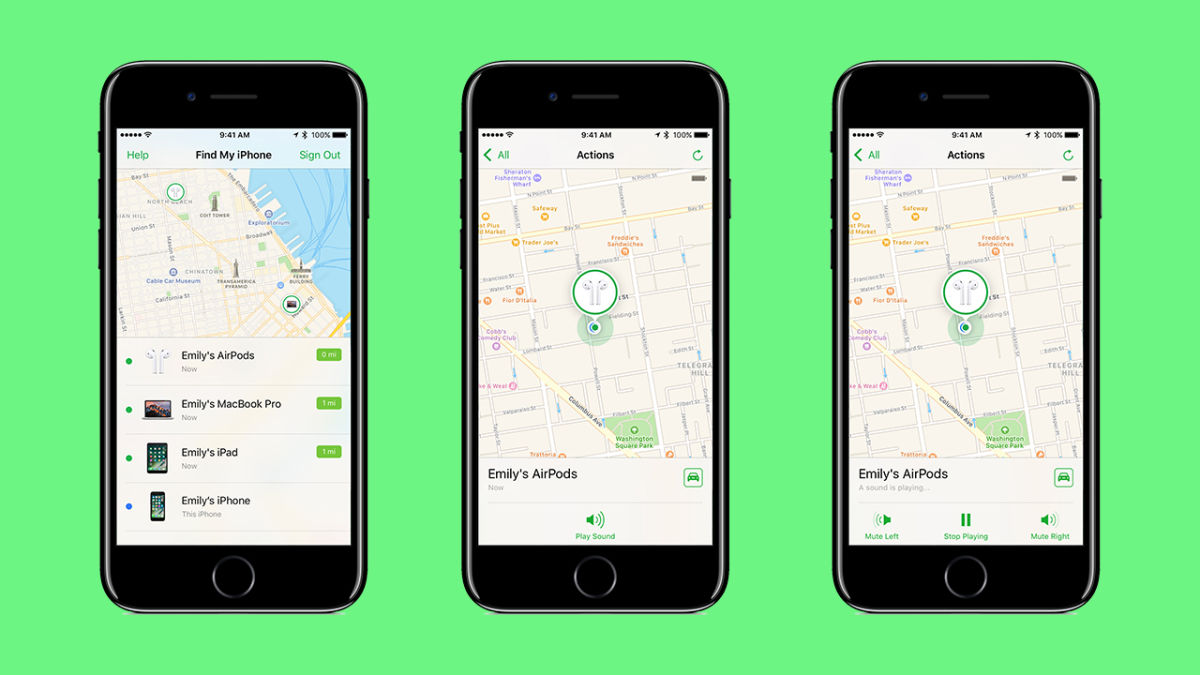
iOS includes a handy Find My app that you can use to locate a missing iPhone. Fortunately, this app works with more than just your phone.
As long as you are signed in to iCloud with the same account that's connected to your AirPods, your AirPods will also show up on the app.
- Just open Find My and select your AirPods to see the last place they were.
- A green dot by your AirPods means that they are online.
- A gray dot means that they are offline or out of range.
This works even when your AirPods are out of the case, so it's a great way to find a missing AirPod that may have slipped out of your ear without you noticing.
Link and Pair Your AirPods Across Your Apple Devices
If your Apple devices are all connected on the same iCloud account, you probably don't even need to worry about this step. Apple will automatically sync your AirPods across all of your devices, so they should be recognized and connect when you get close, and start using them.
If your Apple devices aren't all on iCloud, it's still pretty easy to
make them work.
- To pair to an additional device, like your Mac, just head to its Bluetooth settings and look for your AirPods' name.
- Select that name to connect.
- From now on, your devices should auto-connect to your AirPods as needed, but if necessary you can always head back to the Bluetooth section and make sure everything is working right.
Pair Them with Non-Apple Devices, Too
AirPods, you may be relieved to hear, are also compatible with pretty much all other Bluetooth devices, including Android phones and PCs. Setting them up is pretty easy.
- Make sure the case is charged and that both AirPods are in the case.
- Now flip the case around and look for round button on the back: That's actually the setup button that you can press to link to Bluetooth.
- Flip the lid open, but leave the AirPods inside, and hold this button down until the light inside the case flashes white.
- Your AirPods should then show up in the Bluetooth field of any nearby compatible device, allowing you to quickly link up.
Change Automatic Ear Detection As Needed
AirPods will detect when they are placed in your ears and automatically turn on/link up. All you have to do is put them on so that the AirPods can sense proximity to your fleshy head. For most people, it's probably best to leave it like this: It's a handy feature, and it's very accurate.
But you might not like this automatic feature, or you may have trouble getting it working (sometimes hair, studs, etc. can get in the way).
- If you want to turn this feature off, head to your Bluetooth section.
- Select your AirPods with the blue "i" icon.
- Turn off the Automatic Ear Detection feature that you will find there.
- However, be warned! Your AirPods won't easily turn off when you take them out, so your music will keep playing and your battery will keep draining until you shut them back in the case.
AirPods Pro Are Water-Resistant
This tip is especially for the guys, but everyone should keep it in mind. When hovering over the toilet, your head tends to tilt, your AirPods can become unbalanced, and... accidents can happen. You don't want to have to fish an AirPod out of the toilet. But keep in mind that the new AirPods Pro are in-fact water-resistant. That means that they should be able to take a very quick swim without much issue, and they'll also hold up in the gym during intense cardio sessions.
They're Disguisable
Okay so it's not really a feature, per se, but it's worth reiterating that AirPods are, indeed, small. That makes them easy to swallow, and very attractive to chew, for both pets and kids. Please remember to keep your AirPods safe and out of reach from these little nibblers. You don't want anyone choking on an AirPod – or swallowing one. Keeping them in the case will help with this. You can also disguise your AirPods as something kids aren't attracted to, like Band-Aids, or something they really hate, like floss.

