7 Tips to Shoot Perfect Videos on iPhone
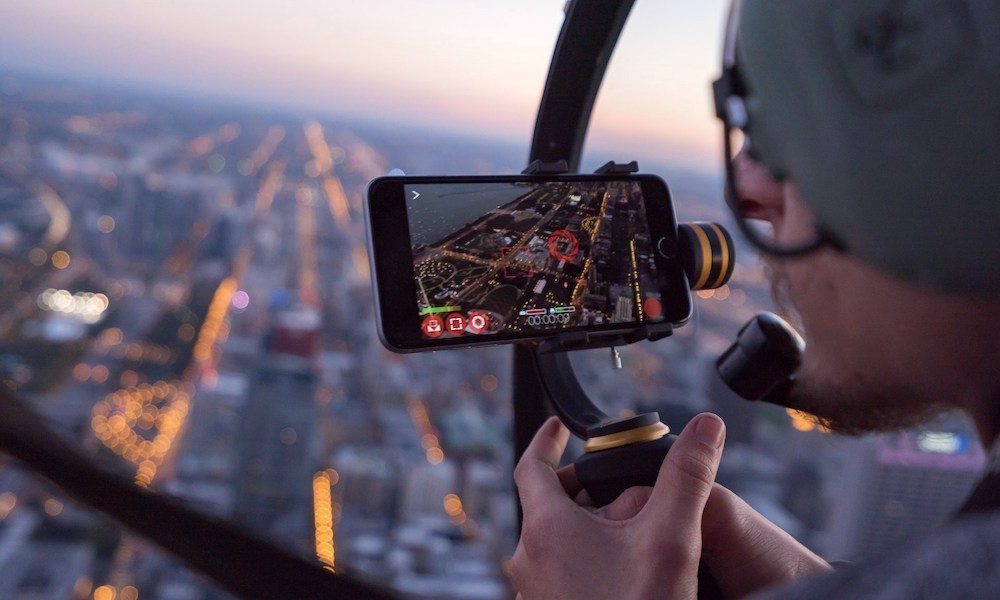
Apple’s iPhone has become a staple of modern-day photography. But while the iPhone can shoot impressive still images, the device can also record stunning video. It’s certainly not perfect, but the iPhone is a great tool for videography — particularly because it’s small, convenient and probably already with you. Press the right arrow to learn 7 tips to help you record iPhone videos like a professional.
7 Use the Exposure Lock
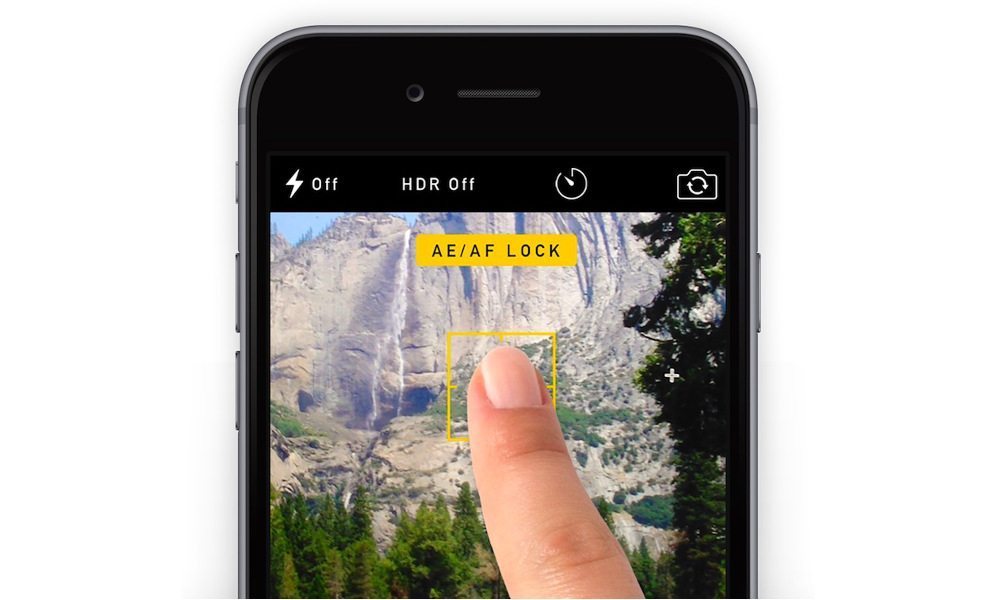
The iPhone’s camera will automatically set the focus and exposure for your shot. That’s great for shooting photos in a hurry, but it can quickly complicate video shots — particularly if it’s a video of one subject talking to the camera. It’ll keep readjusting and refocusing, which can lead to a distracting video.
Luckily, you can “lock” the exposure and focus in the native Camera app. When shooting a person talking to the camera, for example, just tap and hold on their face. You’ll see a box and a yellow bar with “AE/AF Lock” appear. Once it’s on, the iPhone will keep the focus and exposure consistent throughout the video.
6 Don’t Zoom
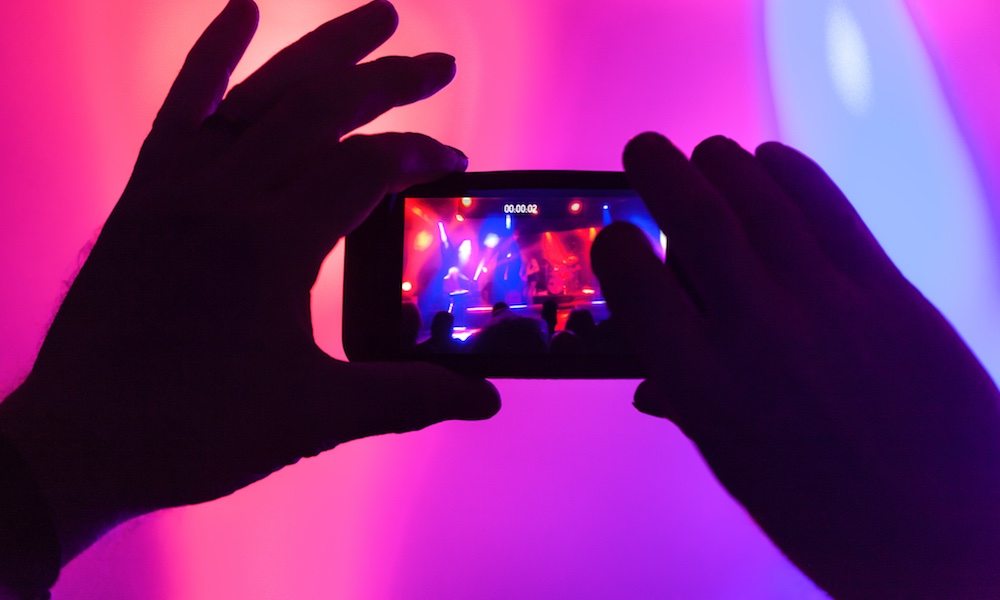
As tempting as it is to close in on a subject with the iPhone’s built-in zoom, it’s best to avoid it in pretty much all scenarios. Unless you have a device with a dual-lens camera module (like the iPhone 7 Plus), the zoom isn’t optical — it’s just digitally enlarged. That leads to grainier and more pixelated videos. Not good.
A far better and more reliable option is to just move your iPhone closer to your subject. Both the picture and the audio will be better at this point. If getting up close and personal to your subject isn’t an option, you can always look into aftermarket telescopic zoom lenses. The results likely won’t be perfect, but they’ll be a lot better than optically zoomed video.
5 Use a Third-Party Video App
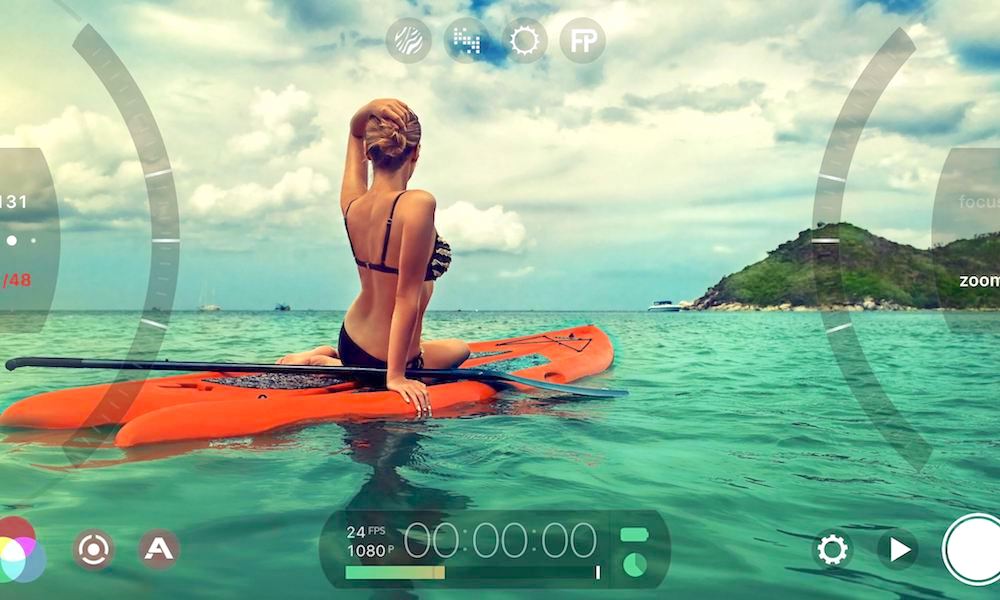
This is more of an optional step, but it can have a great impact on the video quality you record. Apple’s built-in Camera app is perfectly capable, but it lacks some of the in-depth controls that some third-party apps have — like adjustable camera resolution and bitrate, and manual white balance control
There are a range of options, from higher-end applications like Filmic Pro (currently available on the App Store for $14.99) to free options like ProMovie Recorder. Again, these third-party apps are not strictly necessary to shoot great video, but they will expand the range of options and controls that you’ll have.
4 Use a Gimbal
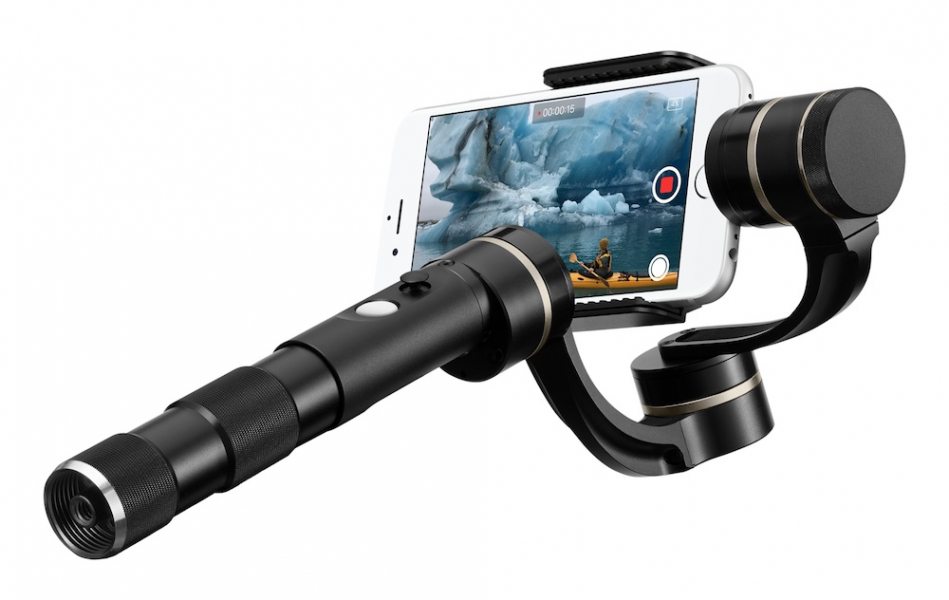
Nothing can ruin a video quicker than shakiness. It’s one of the most noticeable differences between professional video and amateur home movies. And while the iPhone's optical image stabilization is great, it won’t do much good with really shaky footage. Luckily, it’s an easy fix: use a tripod. There are tons of great smartphone tripods available online.
If you’re trying to record a moving shot — such as following a subject down a street — use a gimbal. These are handheld mounts that can easily stabilize your video recording while on the move. Many options are inexpensive, and the difference between gimbal and non-gimbal footage is like night and day.
3 Be Mindful of Lighting

Lighting is incredibly important when shooting video — and even more important when shooting on a smartphone. As good as the iPhone’s camera is, the video quality suffers significantly in low-lighting and poorly lit environments. That’s a problem with all smartphone cameras, and it shows.
Your best bet is to shoot outdoors or in well-lit environments — if that’s not an option, don’t rely on the iPhone’s flash. Instead, opt for an off-camera lighting kit. They can be pricey and often require a bit of a learning curve, but the difference will be extremely apparent. If you're on a budget, you can always craft up a DIY lighting kit. Worst case, position your iPhone facing a window and use the sun’s light.
2 Use a Separate Mic
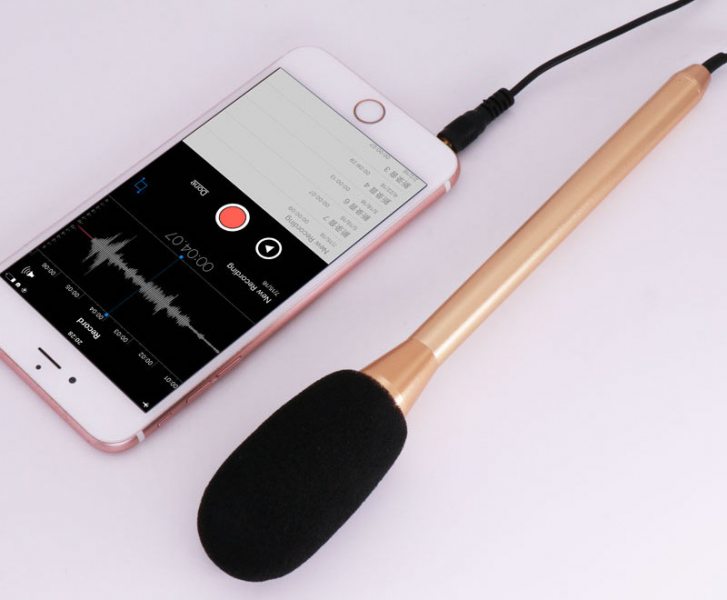
Even the most stunning of videos can be completely derailed by bad audio. Thankfully, this problem can be easily fixed by using an external mic — there are a slew of options online. If you can't get your hands on one, the iPhone’s mic is perfectly suitable if you get close enough to the subject or source. Otherwise, the ambient environment and room sounds will often drown out that audio.
Another easy trick is to use a separate iPhone to record audio. You can even use the native Voice Memos app to do so. You'll just need to add the audio recording in during the editing process. Pro tip: clap at the beginning of each take, so you can have an easy reference point to sync the audio and video later.
1 Edit on a Mac (or PC)

While there are some great video editing options available for iOS, desktop software is still easier to use and can yield more powerful results. It’ll also be a breeze to sync up your audio and video track if you’ve been using a separate iPhone to record audio.
There isn’t a shortage of options, either. They range from professional and expensive industry-standard software like Adobe’s Premiere Pro to free, amateur-oriented apps like iMovie. With the right clips and some basic editing know-how, all of these options can result in amazing homemade movies and videos — so just use what you can, or can easily get your hands on.
? Bonus Tips
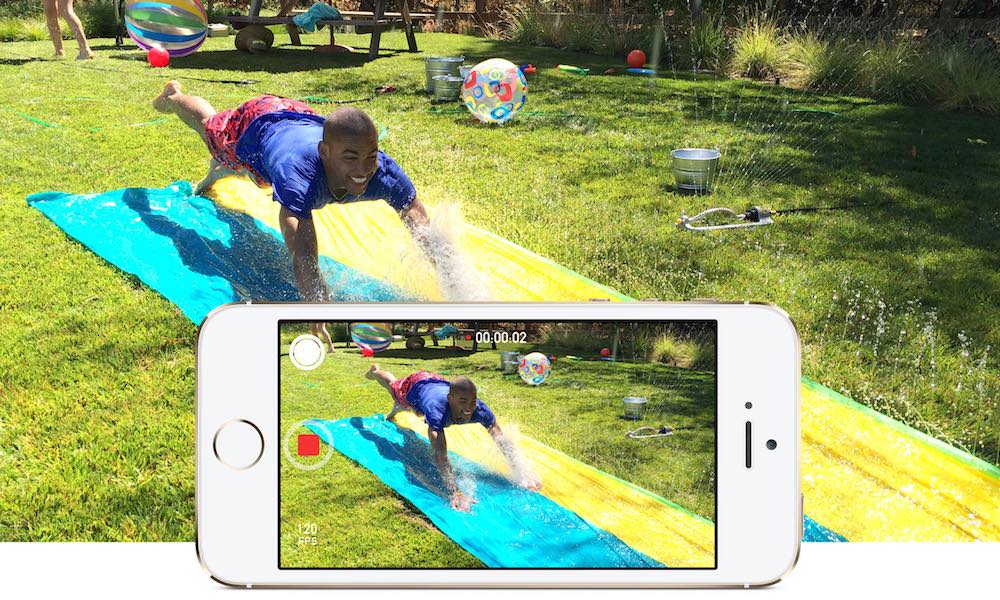
- First of all, shoot in landscape mode. Nobody likes vertical videos.
- Put your iPhone on airplane mode — you don’t want random notifications or calls interrupting your footage.
- Like with still image photography, use the rule of thirds to frame shots. Most video recording and camera apps will have a grid option make this easier. With the Camera app, you can find this in Settings > Photos & Camera > Grid.
- Carry an external battery pack — shooting video can drain your power really quick.
