21 Important Habits of Savvy iPhone Owners
 Credit: Pimpan / Shutterstock
Thanks to Apple’s design philosophy, iPhones are devices that just seem to work for basically any user. They’re simple, intuitive and powerful smartphones. But, despite that, there are quite a few tips and tricks that seasoned iPhone owners swear by — and that some iOS users won’t know. Continue reading to learn more.
21 Define Your Triple Click of the Home button
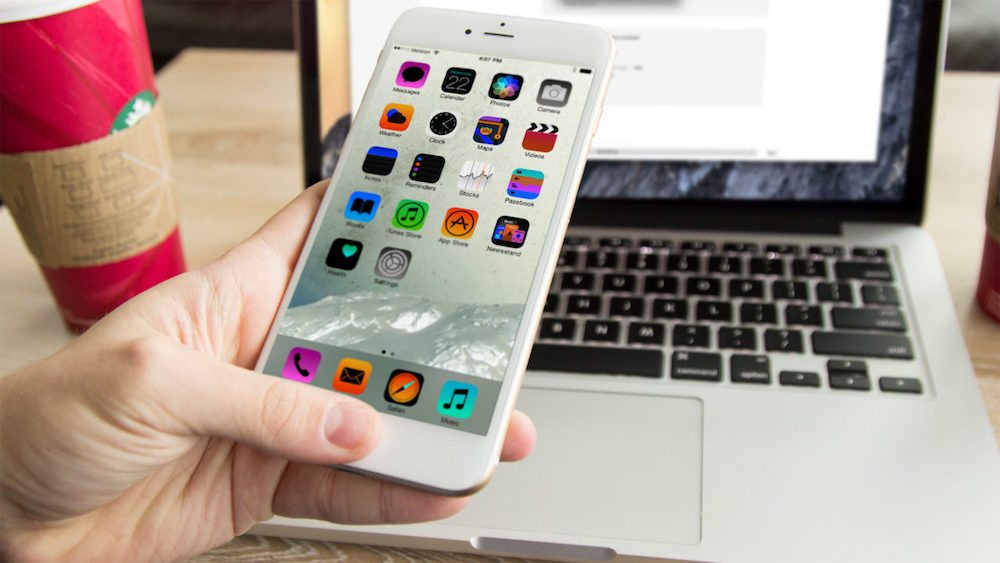
Using the iPhone’s Home button is typically a pretty simple thing. You click it to go Home, and double-click it to open up multitasking. But a wide range of features can actually be mapped to the Home button and activated with a triple-click.
Guided Access, a handy feature, can be mapped to the triple-click along with a slew of Accessibility features. Inverted colors works well for sending iMessages in a movie theater (it's basically dark mode for your iPhone).
You can enable grayscale, inverted colors, AssistiveTouch and other handy features with a triple-click. To edit your preferences, just go to Settings > General > Accessibility > Accessibility Shortcut.
20 Don’t Let Non-Apple Vendors Fix Your Screen
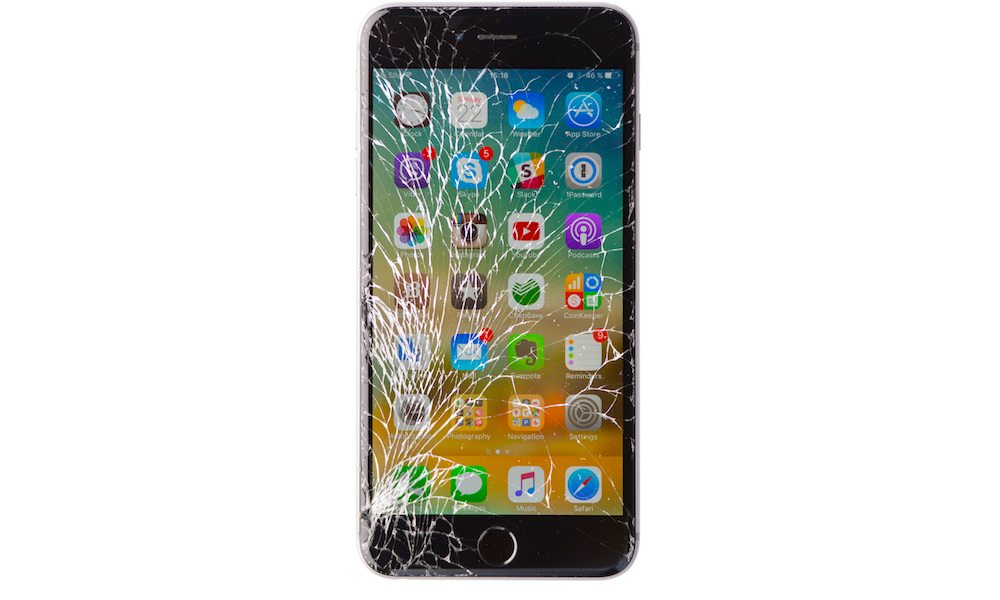
Getting your iPhone’s screen fixed can be expensive. Because of that, you might think you’re getting a good deal at that third-party repair store. And you might be — but you might also be irreparably ruining your device’s eligibility for service in the future.
While Apple reversed its policy on some third-party repairs back in early 2017, any screen replacement performed by a non-certified vendor will still void your warranty. That means you might have to pay out-of-pocket for any future issues with your iOS device if you bring it to an Apple Store. Not to mention, users have reported 'dead areas' in screens replaced by third-party repair shops. In the end, it’s not worth it.
19 Load Control Center with Hot Buttons for Easy Access
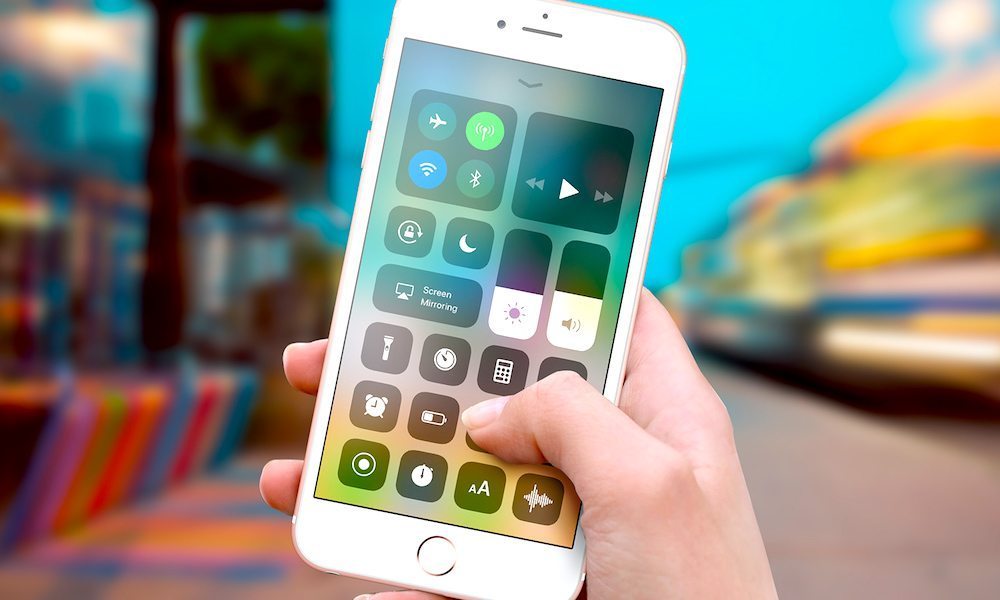
iOS 11 gave the Control Center a significant upgrade. Along with new features, like the ability to easily start screen-recording, the OS update allows for a huge range of customization and tweaking. Put simply, you can set up your Control Center how you like.
You can add or remove features to Control Center in Settings > Control Center > Customize Controls.
Available hot buttons include Voice Memos, Do Not Disturb While Driving, Apple TV Remote, Alarm, Low Power Mode, and a lot more. Add the features you’d like, and you’ll have easy access anywhere you can pull up the Control Center.
18 When Your iPhone Gets Slow, Hard Reset
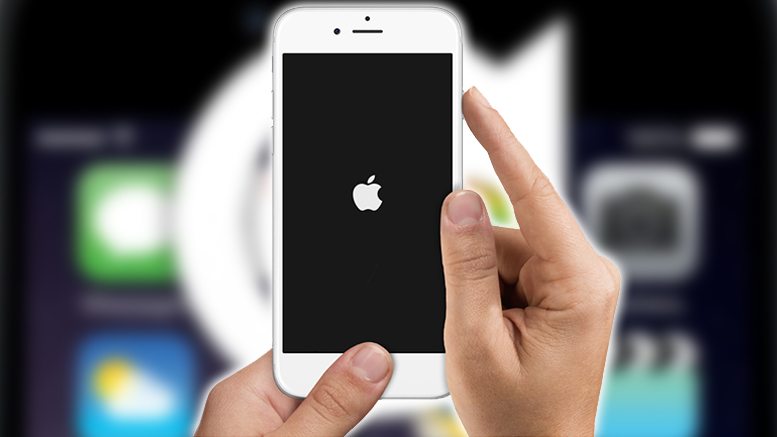
There are quite a few things you can do to try and speed up your iPhone. But the absolute simplest method is to just give your device a good hard restart. Normally, we think of this as an option for a frozen or unresponsive device, but it can also fit some performance issues in a pinch.
- On pre-iPhone 7 devices, just hold the Home and Sleep/Wake simultaneously until your screen goes black.
- On iPhone 7, hold the Volume Down button and the Sleep/Wake button simultaneously for 10 seconds.
- On the iPhone X, iPhone 8, and 8 Plus this is accomplished by pressing the Volume Up button, pressing the Volume Down button, and pressing and holding the Side button.
In either case, it’ll help clean out your phone’s memory and can fix apps that have run into issues.
17 Take Pictures With Your Volume Buttons
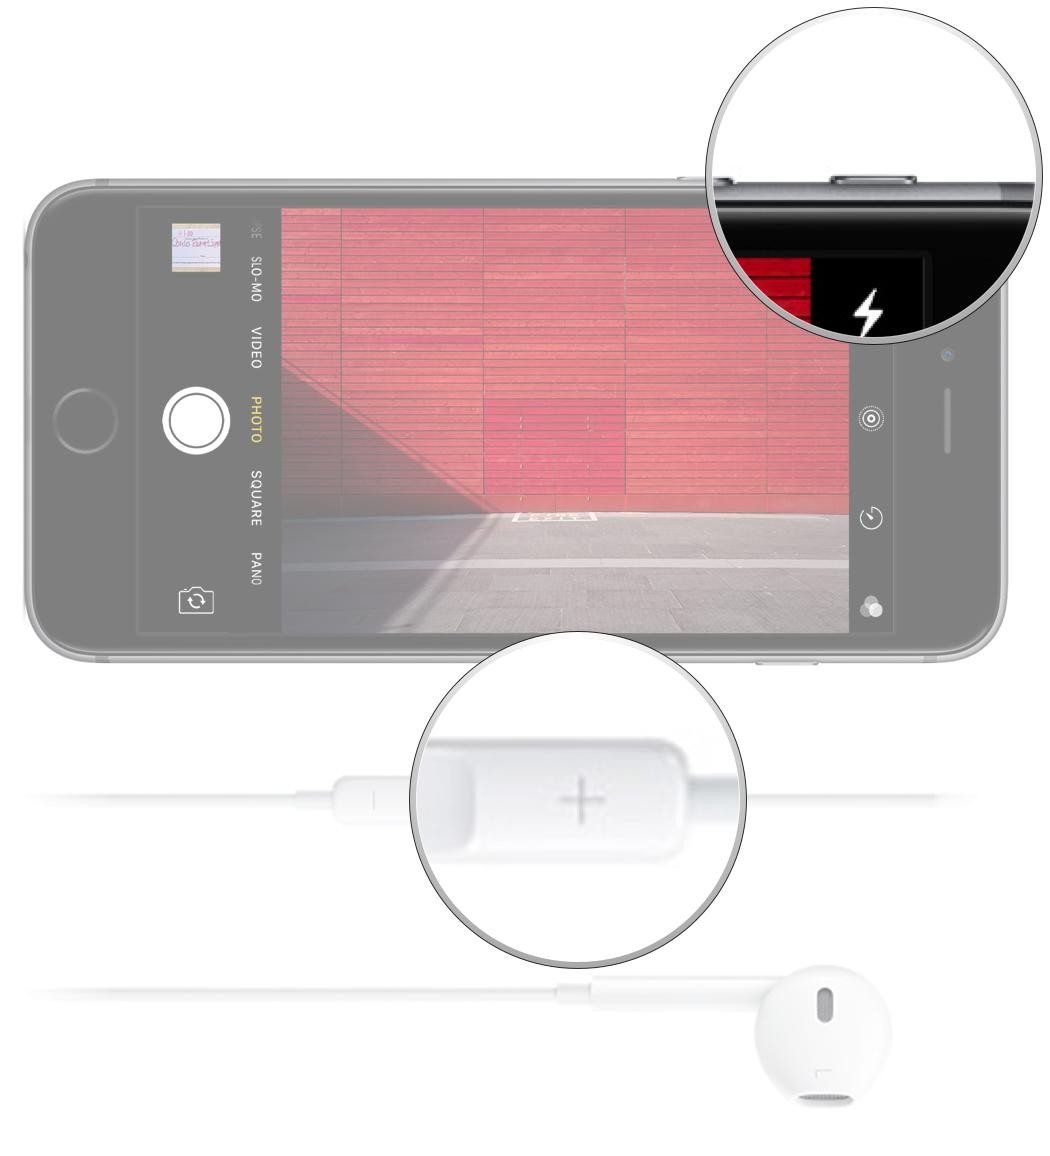
The native iPhone Camera app is pretty straightforward. You just line up a picture and hit the shutter button to snap an image. But there’s actually an easier way to shoot photos on your iPhone: just use your volume buttons as the shutter.
Clicking either the Volume Up or Volume Down button will take a picture on the native Camera app. And this clever shortcut allows for easy access when you’re shooting in landscape mode (which is recommended for the vast majority of photos). Just think of it as the analog shutter button on your old point-and-shoot camera.
16 Set Up Wi-Fi Calling for Bad Signal Areas
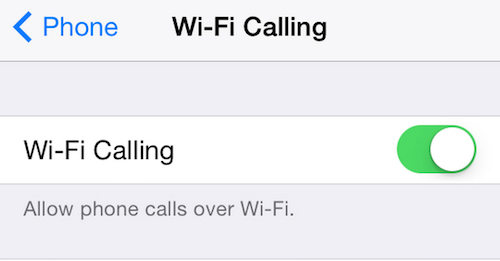
Wi-Fi Calling is a useful feature when you’re trying to contact someone in a bad signal zone. Basically, it allows you to make calls on a Wi-Fi network — even if the cellular coverage in your area is less than stellar.
You can enable it by going to Settings > Phone > Wi-Fi Calling.
Once it’s up, you’ll see Wi-Fi after your carrier’s name when you make a call when connected to a Wi-Fi network. While this hasn’t always been the case, most major networks, including AT&T, Verizon, Sprint and T-Mobile, now support Wi-Fi calling in the U.S.
15 Enable Reachability
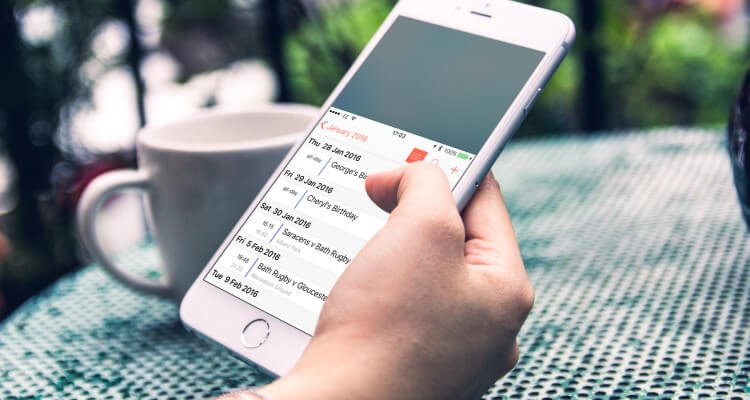
iPhones displays have gotten big, and they’re probably only going to get bigger. That’s great for watching or viewing content, but it can be tricky to navigate your device with such a large display. Thankfully, there’s an Accessibility feature called Reachability that helps.
You can turn on Reachability via Settings > General > Accessibility > Toggle Reachability On.
Once it’s enabled, simply double tap the Home button (don't press! just tap!) to bring items at the top of your iPhone display within reach. That includes features within apps or on the Home screen.
On the iPhone X, for example, Reachability makes accessing the Control Center much easier.
14 Be Aware of Phishing Attempts
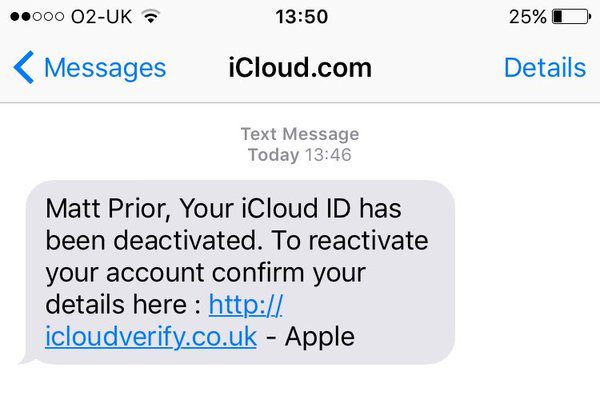
Scams and scammers are an unfortunate reality of the digital era. And while Apple devices are normally very secure, scammers can still target iOS device users. In the worst case scenarios, this can lead to your confidential and sensitive data falling into the wrong hands.
You can read our guide about how to avoid common Apple ecosystem scams, but here are some basics to keep in mind. Remember that Apple won’t typically make unsolicited calls, texts or emails. Double-check every link and URL before inputting your private information. And, when in doubt, just delete the email or text and contact Apple directly.
13 Power Your iPhone Off Regularly
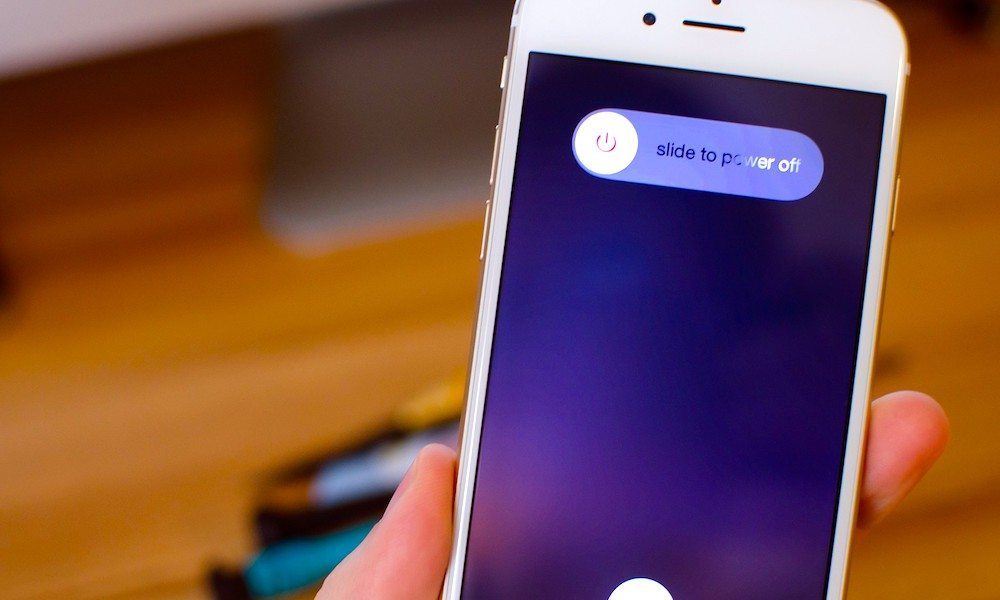
You shouldn’t let your iPhone battery completely drain between charges. That’s largely a debunked myth at this point. On the other hand, you should make a habit of powering off your device regularly — and leaving it off.
Apple Genius Bar staff recommends turning off your phone at least once a week for a period of a few hours. The result, they say, will be slightly increased battery life. Plus, it’s probably healthy to have a “smartphone-free” time, anyway.
12 Use Widgets
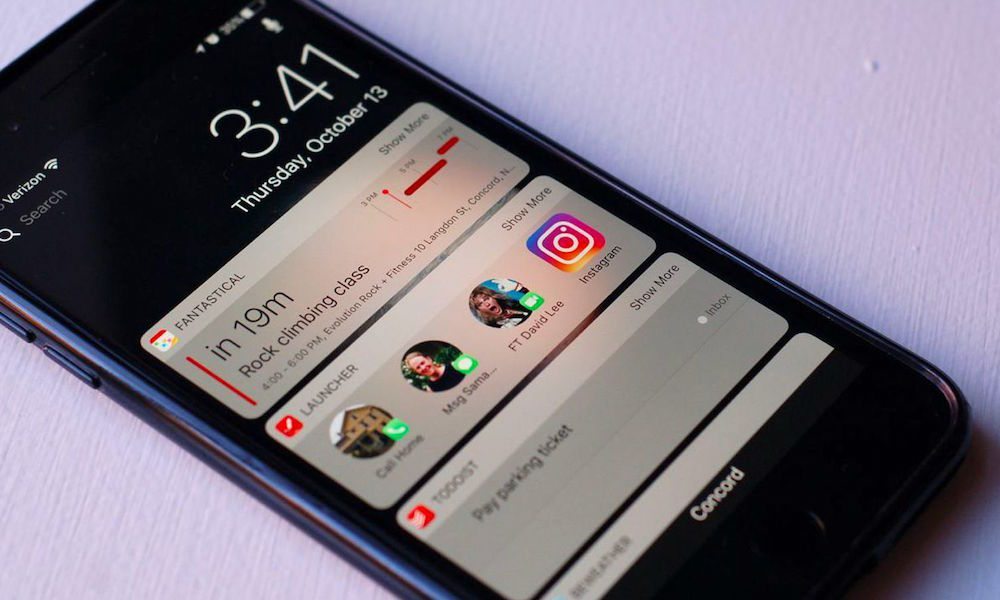
Widgets, introduced in iOS 10, are a great and convenient way to view and access certain apps and data from your Lock or Home screen. The trick is to use them effectively, and particularly, to choose the ones that complement your lifestyle.
While we have a list of must-have widgets, the exact mix and order is a highly personalized decision. Some good ideas? Shazam, Launcher, Yelp and your favorite Calendar app. Just be aware of the privacy considerations of having personal information available on your Lock screen.
11 Back Up Your Data
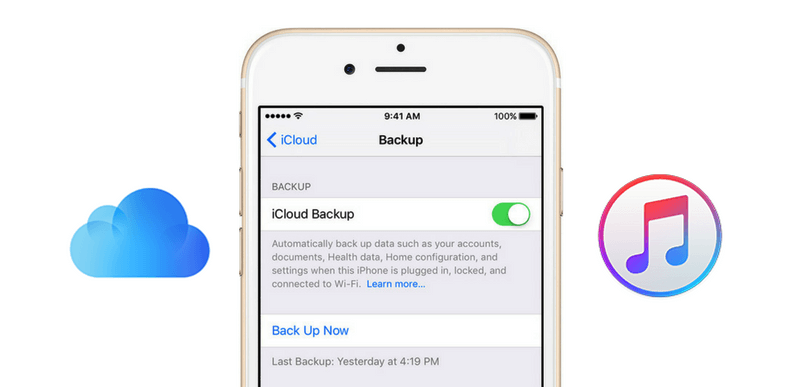
You may not be able to prevent your iPhone from getting lost or stolen, but you can prevent losing all of your precious photos, texts, and data. This is a pretty basic tip, but it’s one that can turn out to be crucially important. And it’s something that all savvy iPhone owners do on the regular (or, at least, we hope).
It doesn’t matter whether you use iCloud Backup, or you manually copy your data by connecting your iPhone to a computer via iTunes. The important thing is that you make regular backups. In fact, it’s probably smart to back up your data to multiple locations in case of severe tragedies — like losing both your laptop and your iPhone.
10 Clear Out Your Significant Locations
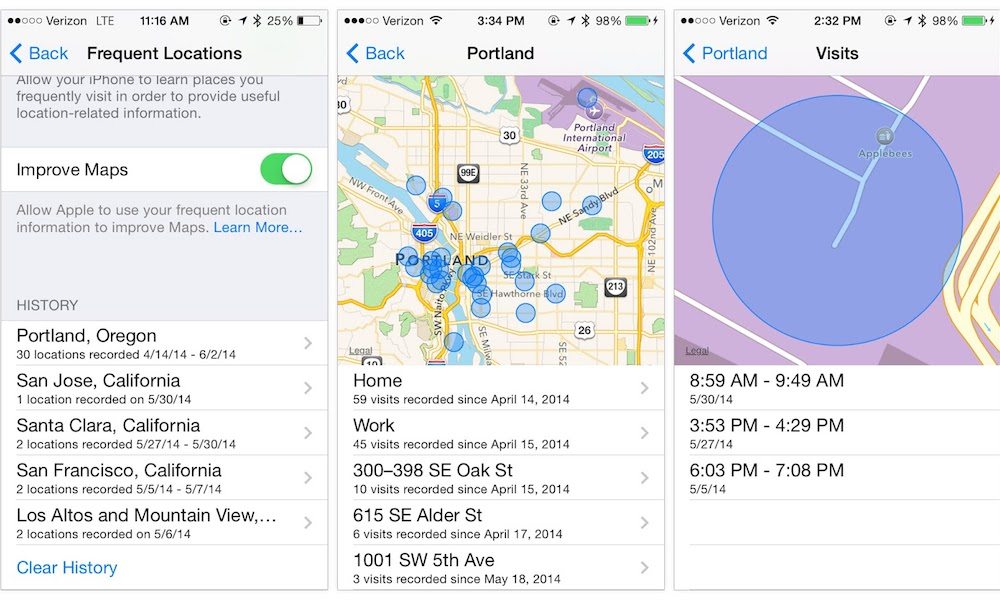
Your iPhone tracks your every move and even remembers the locations you visit frequently. Depending on your version of iOS, this is called Frequent Locations or Significant Locations. And while the data is only stored locally under lock-and-key, it can still be disconcerting.
It can also pose a security or privacy risk, depending on your circumstances or your profession. Luckily, you can wipe this data — but the setting is buried.
Go to Settings > Privacy > Location Services > System Services > Significant Locations, and tap on Clear History. If you want to turn it off entirely, just switch the toggle.
9 Use a VPN
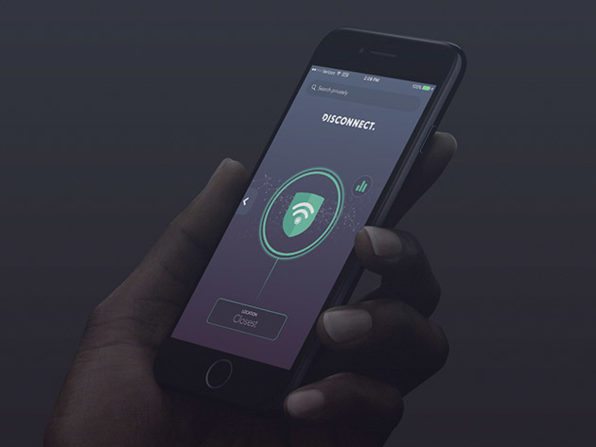
In the digital era, using a VPN (or virtual private network) is becoming the most common way to protect your data and privacy. Whether you’re concerned about government intrusion or hackers, a VPN is one way to get more peace of mind.
VPNs aren’t free, but the added security is likely worth the cost for many users. In some cases, they're less of a luxury and more of a necessity. VPNs work by anonymizing and encrypting your personal communication over the web, protecting your data from all sorts of prying eyes. To get you started, we’ve put together a list of several that we recommend.
8 Review Your Permissions
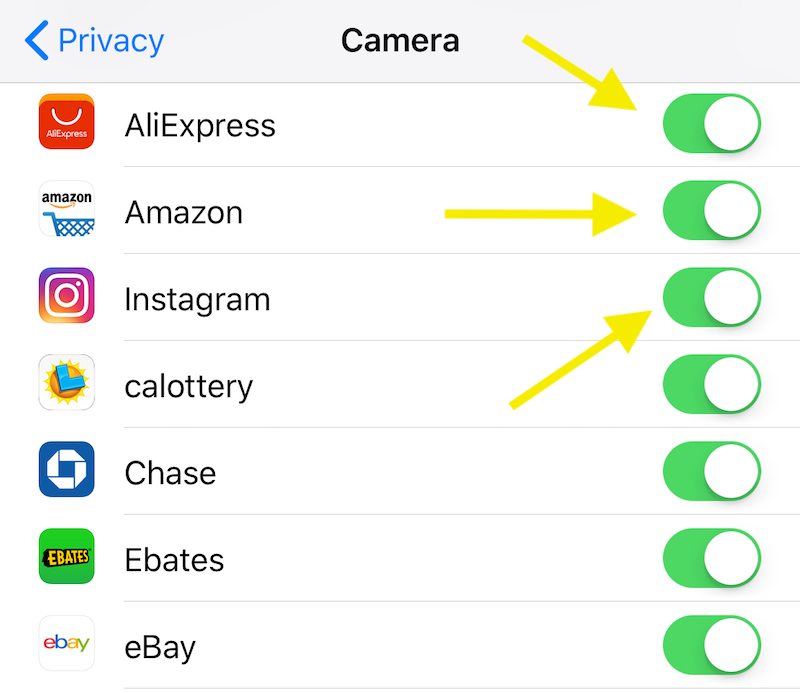
If you’re like many iPhone users, you probably just hit “OK” whenever you see an app asking for Camera or Location permission. That might be fine for most apps, but there’s always the possibility of malicious apps taking advantage of that permission.
Rogue apps, thankfully, are relatively rare in the App Store. But still, it’s smart to think carefully about the permissions you’re granting. You can review your existing location permissions by going to Settings > Privacy > Location Services.
Camera permissions can be altered in Settings > Privacy > Camera.
7 Don’t Keep Taking (Duplicate) Photos
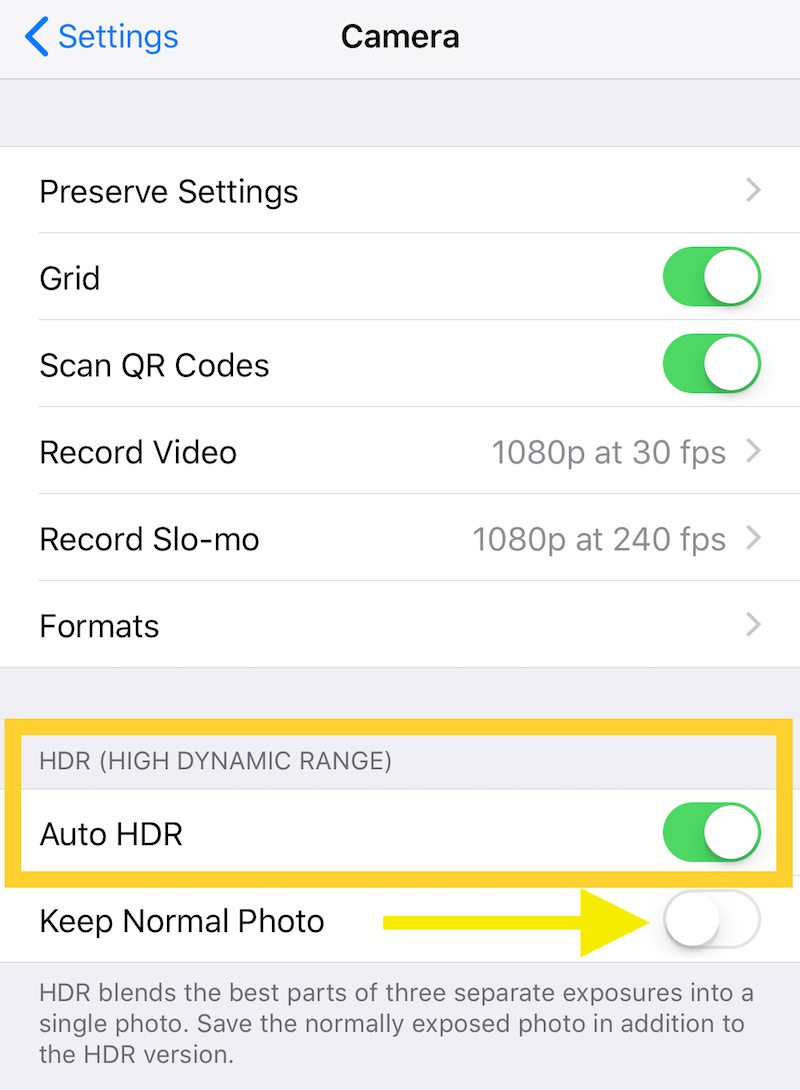
HDR, or High Dynamic Range, refers to a Camera feature that takes three photos in quick succession and blends them together for a better-looking picture. It’s a good way to get a nicely exposed and well-lit photo on-the-fly. But, by default, it can also be a space hog.
That’s because, normally, iOS keeps a copy of the original, non-HDR photo. If you use HDR a lot, that means you can end up with tons of what are basically duplicate photos. If you don’t need the non-HDR shot, then just go to Settings > Photos & Camera, and turn Keep Normal Photo off under the HDR category.
6 Save Battery Life with Mail Settings
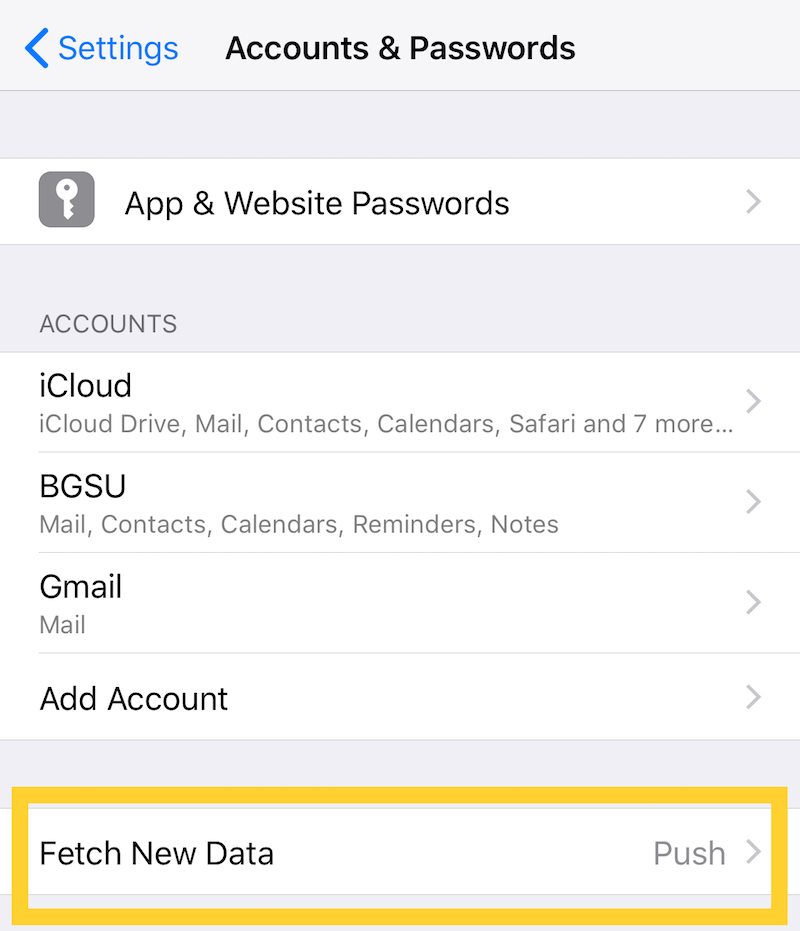
Unless work or school requires it, there’s little need for your Mail app to be constantly searching for incoming mail content. For the vast majority of users, this is simply a huge battery drain — but it’s an easily fixable one. Just go to Settings > Mail > Accounts > Fetch New Data.
From here, you have a couple options. Push will have the email server perform most of the work, while Fetch relies on your iPhone actually contacting the server and receiving new messages. You can set a longer Fetch interval for better battery life, or just set it to Manual for the best energy economy.
5 Use Do Not Disturb
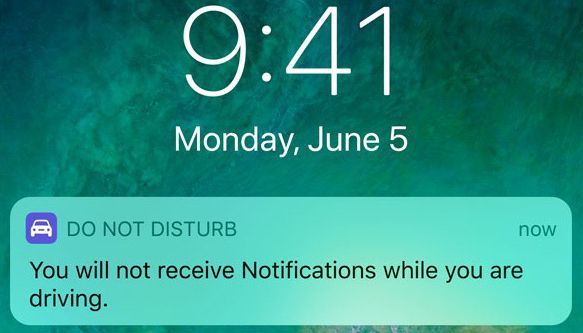
Do Not Disturb is really a hidden gem of the iOS platform. While it’s obviously great for staying focused when working on big projects, it’s also a great way to allow yourself some peace and quiet. And you can tweak the settings to have it turn on automatically at specific times of the day.
You can choose a list of people who can contact you even if the feature is on, or allow repeated calls to come through. In iOS 11, there’s even an option to mute your iPhone when you’re driving — a great way to stay safer on the road. You can change your Do Not Disturb preferences in Settings > Do Not Disturb.
4 Enable the Camera Grid
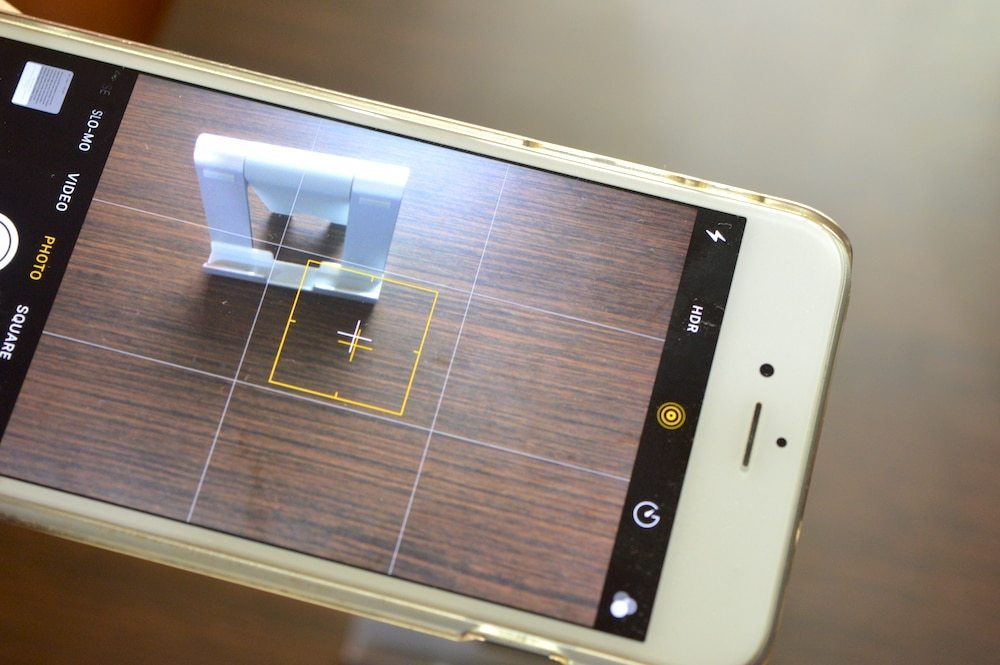
Taking great photos with an iPhone is a skill in itself, and you can read more about it here. But one of the most basic things you can do to improve your iPhone photos is to turn on the Camera grid and use to according to the rule of thirds.
While it doesn’t work perfectly for every photo, it’s a good rule of thumb: try to keep the focus of your shot off-center. You can turn on the grid for the native Camera app by going to Settings > Photos & Camera, and toggling Grid on.
3 Disable Background App Refresh
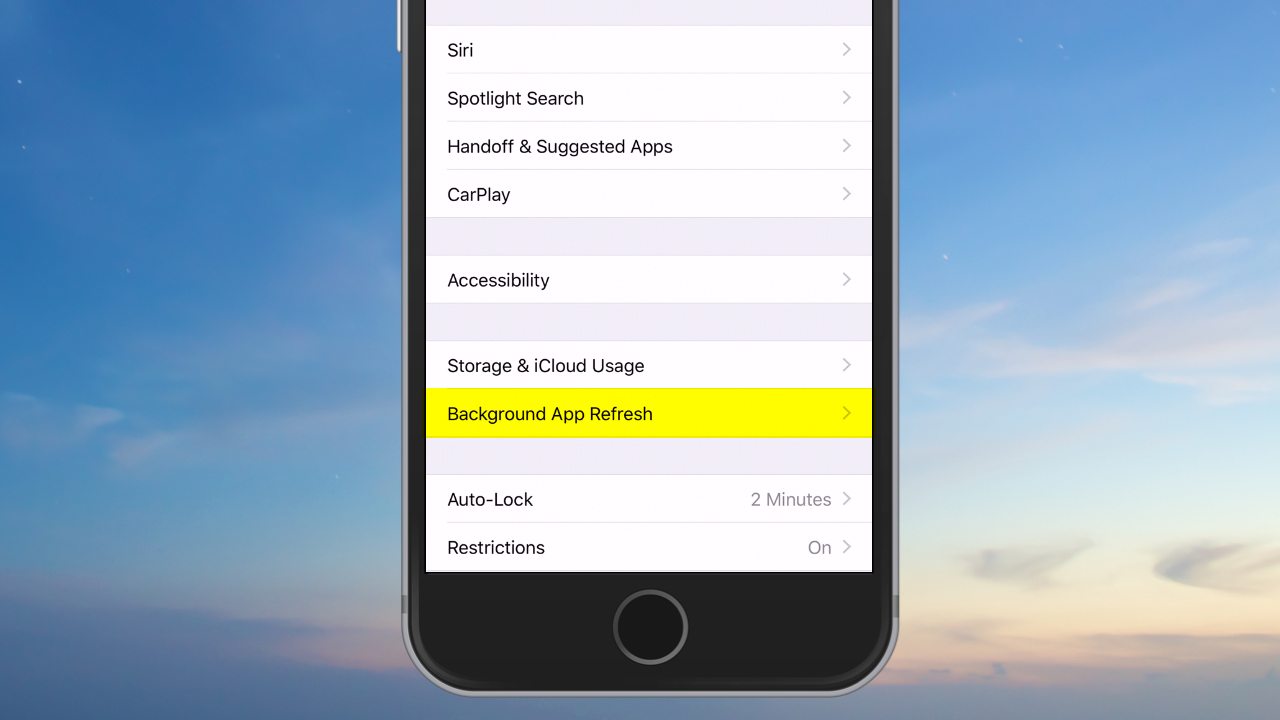
Background App Refresh is a convenience feature. It allows certain apps to stay current by updating when they’re not actively open. It’s handy, but it can be a huge battery (or data) drain, depending on the type or number of apps that are using it.
Even if you want some apps to continue refreshing in the background, it’s smart to look over your Background App Refresh preferences and weed through which apps really need that feature. Just go to Settings > General > Background App Refresh. If you want to maximize battery life, be selective about which apps you choose.
2 Control Your Lock Screen
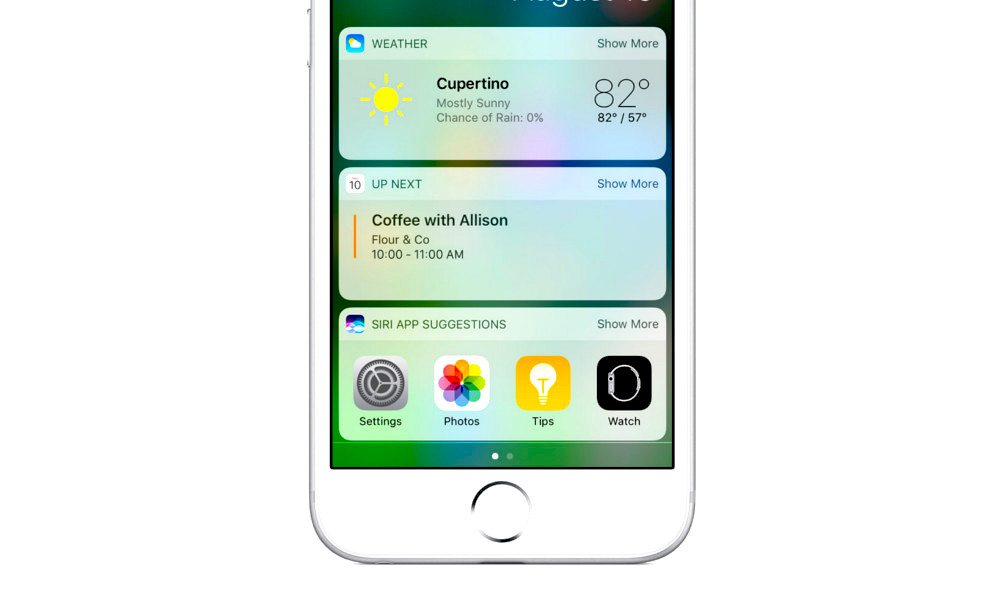
For the particularly privacy conscious, an iPhone’s Lock screen can represent a security hole. By default, there are several features that are accessible even when your device is locked — including Siri, the Notifications View, and the ability to reply to iMessages.
Thankfully, you can disable most of these features from the Lock screen in the Settings app. Just go to General > Touch ID & Passcode, and toggle the features that you want to restrict when your iPhone is locked. Disabling Siri is a good idea, as is turning off Reply with Message.
1 Enable Find My iPhone
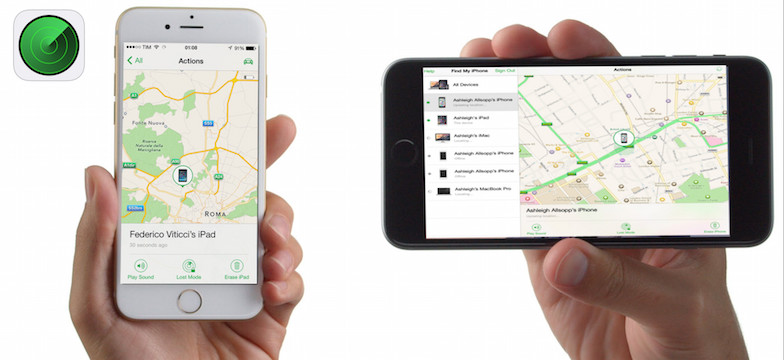
Find My iPhone is such a useful feature that we’re not sure why anyone wouldn’t turn it on as soon as they get an iPhone. It can help you track your lost or stolen iOS device, and if you get that data to the proper authorities, can even help you get it back.
In the worst case scenarios, Find My iPhone can even wipe your iOS device to keep your data out of the wrong hands. It can even double as a great way to locate your iPhone if it’s on silent. The handy scenarios are endless, so do yourself a favor and enable it.
