10 Changes to Make in Your New iPhone’s Settings
 Credit: 9to5Mac
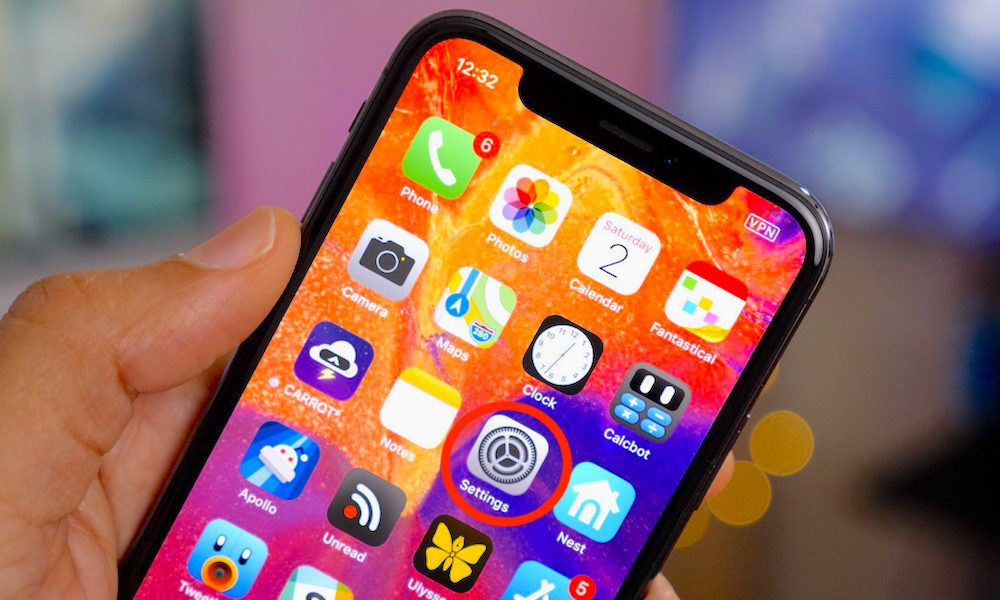
Whether you’re new to iPhone or a veteran user, you may not have taken the time to look through all of the settings found within the Settings app. Maybe you’ve just been using your Apple device the way it came right out of the box. There’s nothing wrong with this, but there may be some settings that will pique your interest or improve your experience while using your iPhone. Press the Right Arrow to Learn 10 Changes to Make in Your iPhone's Settings.
10 Volume Buttons
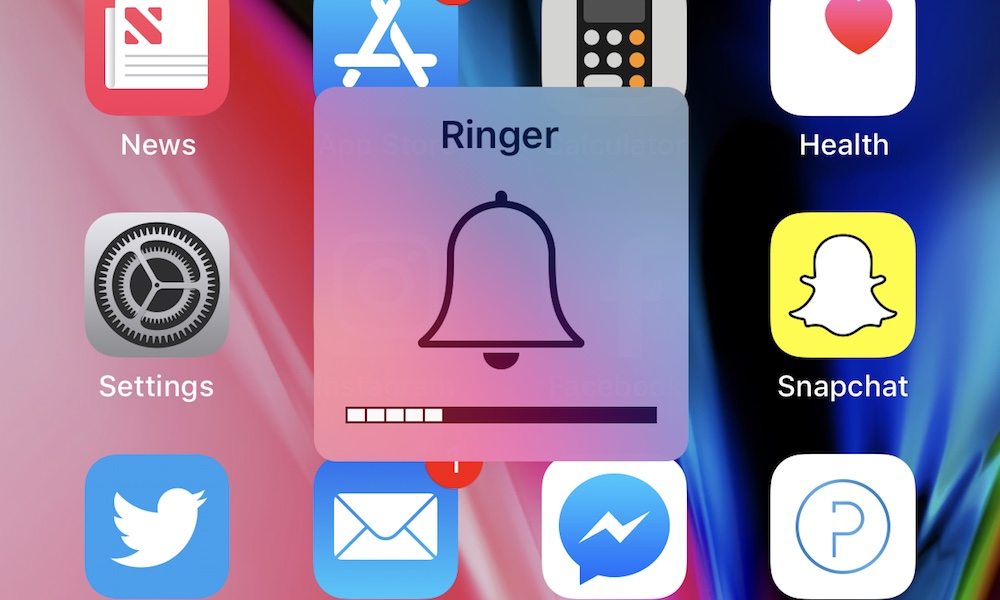
Under Settings > Sound & Haptics you can toggle “Change with Buttons” on or off.
Everyone has different tastes when it comes to adjusting volume. I don’t like the volume of my ringer to change when pressing the volume button down (I just want it on or off using the ringer switch), but some people like to be able to adjust their ring volume with their system/app volume.
When off, your ringer and alerts will be set to whatever volume you specify directly above the toggle. When toggled on, you can adjust the ringer and alerts using the volume buttons on your device.
9 Reachability
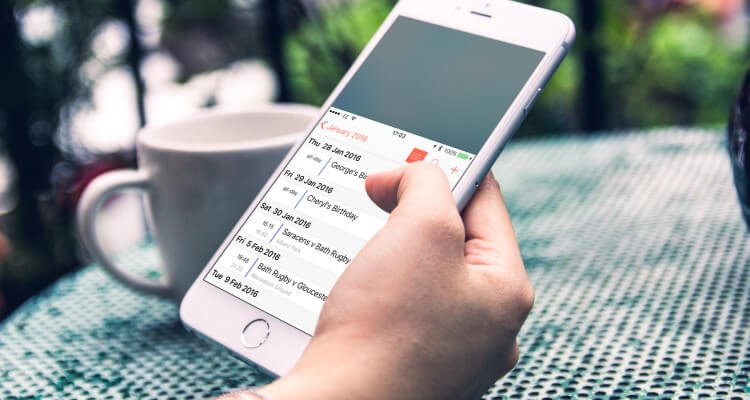
There was a time where electronics were getting smaller and smaller. But now displays are getting larger and larger. While the extra pixels make for a great viewing experience, it can be hard to reach stuff at the very top of the display.
That’s where Reachability comes into play. If enabled, you can double tap (not click) the home button or swipe down on the home bar (iPhone X) to trigger Reachability.
The displayed content will slide down putting the top contents in the middle of the display, making it easy for your thumb to reach.
To enable (or disable) Reachability go to Settings > General > Accessibility and toggle Reachability on.
8 Privacy
In today’s Internet connected world privacy is often seen as a thing of the past. However, iOS does offer some privacy controls that you might find useful while browsing the Web. If you use Safari as your primary browser there are some things you should know.
Go to Settings > Safari to get started. Here you can enable 'Prevent Cross-Site Tracking' to make it harder for advertisers to gather and share advertising data. This won't stop you from seeing advertisements though, the result will simply be advertisements for products you probably don't care about. You can also ask websites not to track you but, keep in mind this is like putting a t-shirt on that says “Don’t Poke Me.” Odds are, people are going to poke you.
You can further limit tracking by disabling ad tracking and periodically resetting your advertising identifier. Both of these can be done under Settings > Privacy > Advertising
Another really vital way to protect your phones privacy is by utilizing the best VPNs. With the crackdowns on internet privacy and restriction of the internet freedom act. It's now more imperative than ever to use a top VPN provider.
7 Camera Grid
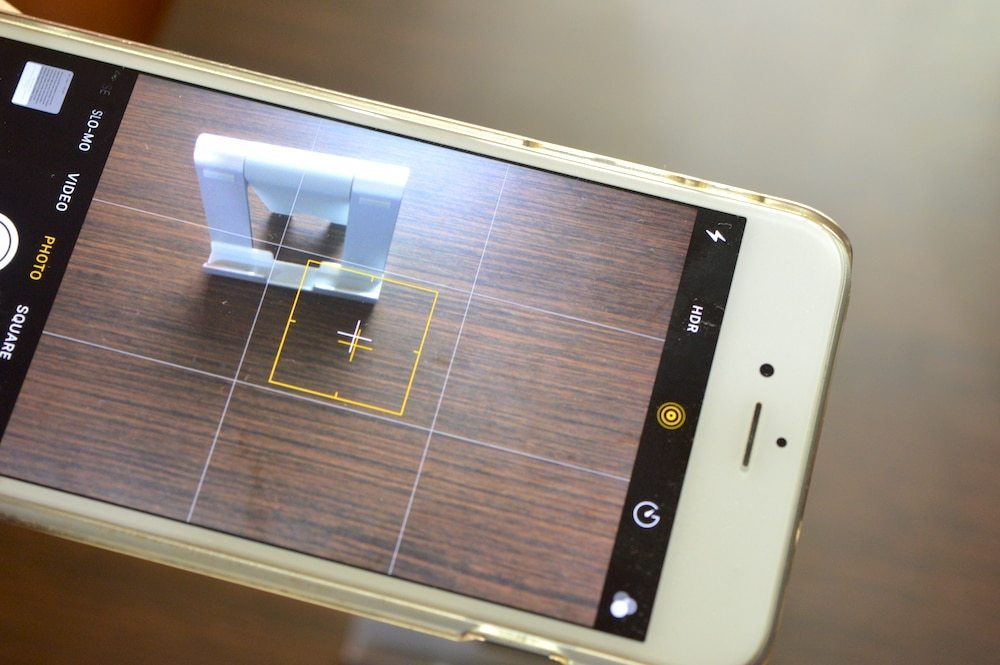
iPhone has been consistently named as one of the best phone cameras around. If you like taking pictures with your iPhone or iPad and you follow the rule of thirds, you may be interested in enabling the camera grid. You can find the toggle for Grid under Settings > Camera. The grid will also display a level when the camera is pointing down to help you get the perfect overhead shot. Along with the grid, here are some of the best phone camera accessories to help you capture the perfect shot - like a tripod for hands-free photography, or an 8X optical zoom lens for capturing crystal clear photos from a long distance.
6 Cellular Preferences
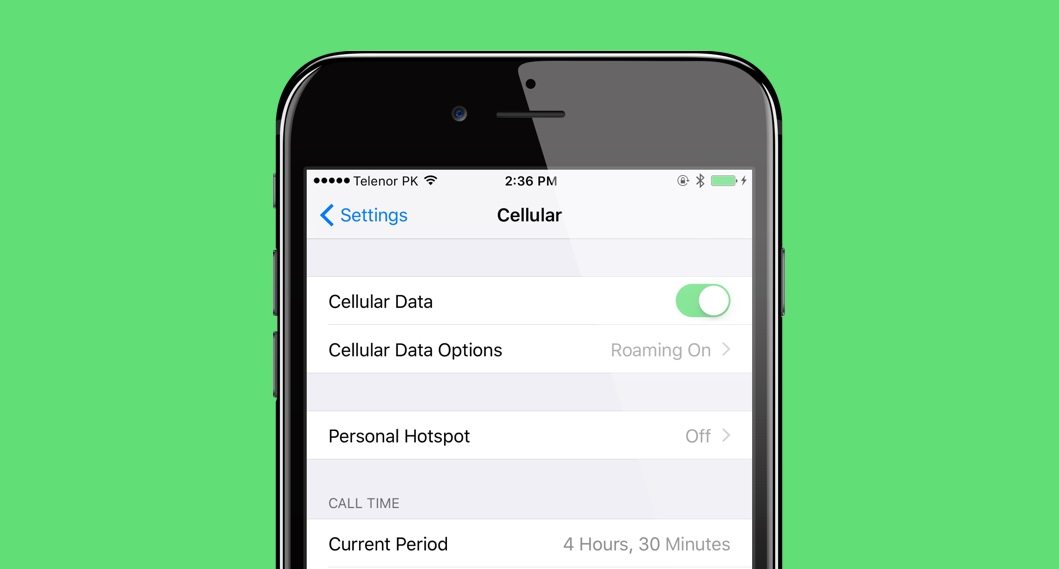
To roam or not to roam? The answer really depends on your cellular provider and your usage. Usually roaming locally doesn’t cost any extra and can greatly improve your experience. You can enable roaming under Settings > Cellular Data Options.
Whatever you do, make sure you contact your cellular provider to get a better grasp at how data roaming works with your cellular data plan. It's important that you stay within your services' guidelines, else you can be left with a extremely large bill.
In addition to roaming, you’ll find carrier specific settings such as Wi-Fi Calling and Personal Hotspot under Cellular settings. If you have an iPad or Mac you may even be able to enable calls on other devices (carrier dependent). Here you can also specify which third-party apps can use cellular data or even disable it completely.
5 Do Not Disturb
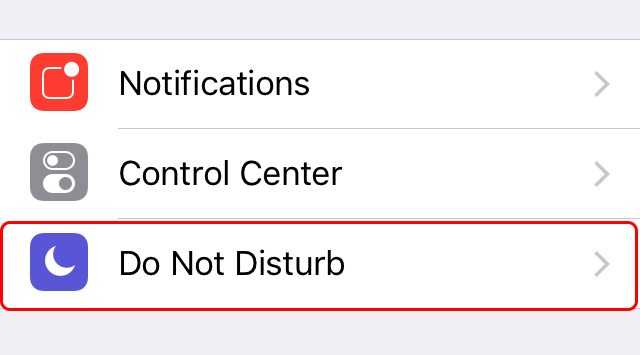
Sometimes you don’t want to be reached, like at 3:00 AM on a Monday morning. Luckily, Apple has a handy feature called Do Not Disturb (DND) that allows you to stop receiving calls and alerts. You can manually enable/disable DND using Siri or Control Center, but you can also schedule it and configure how it works under Settings > Do Not Disturb.
- When scheduling Do Not Disturb you choose a start time and an end time for when it should be active.
- In the Do Not Disturb setting you can also choose whether notifications are silenced when your phone is unlocked or not when DND is enabled.
- Additionally, you can specify which contact groups are allowed to call you during Do Not Disturb.
4 Mail Swipe Customization
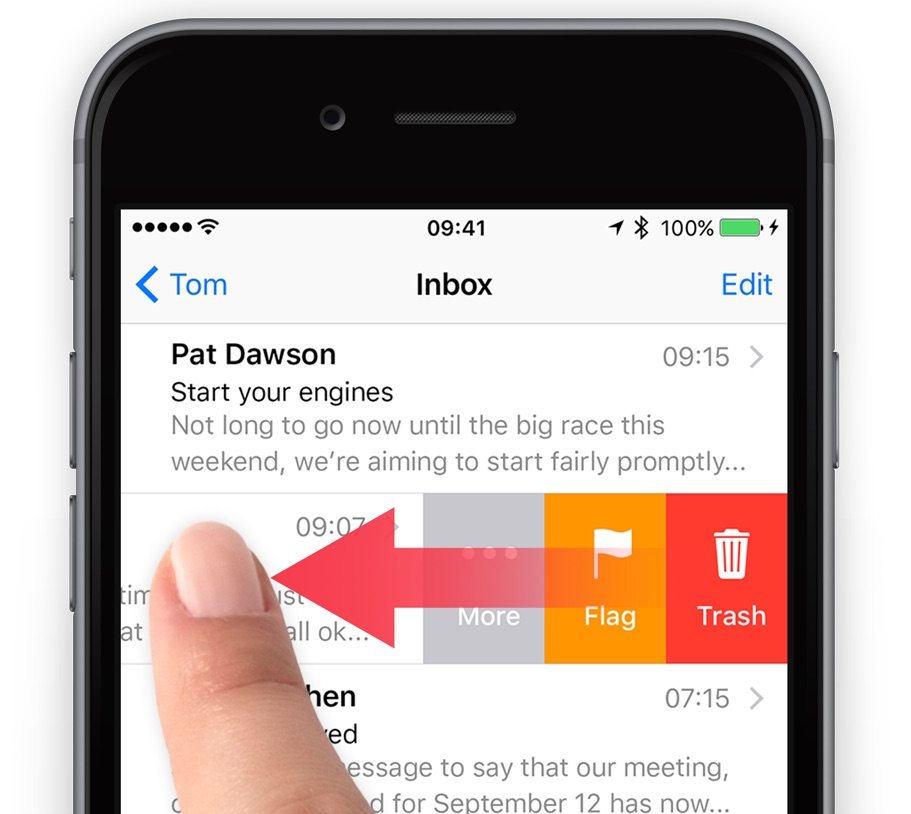
So you know about swipe to delete, but did you know you can customize swipes for the Mail app in iOS?
Simply go to Settings > Mail > Swipe Options and you can specify what options will be available when you swipe left or right.
Additionally you can choose whether a message is deleted or archived. To do this, go to Settings > Accounts & Passwords > (Select an account name) > (Select the account again) > Advanced. Here you can customize mailbox behaviors, choose where discarded messages are sent, and specify how long deleted messages should be kept.
3 Easy TV Provider Login
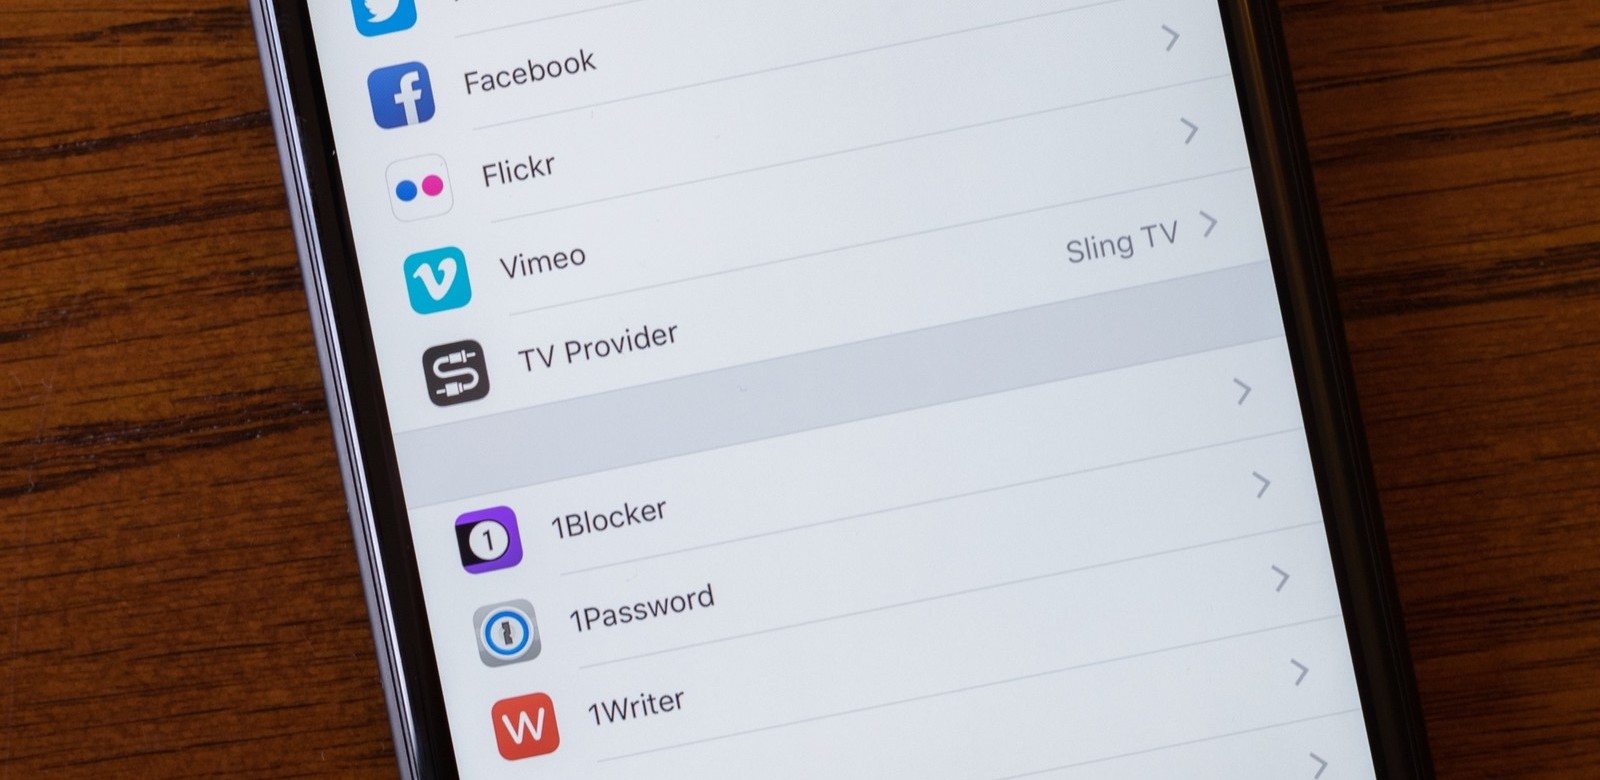
If you have a TV provider that supports Apple’s Single Sign On (SSO) feature for entertainment apps, you can link it under Settings > TV Provider. Now when you downloaded supported apps they can login using your TV provider so you won’t have to type in your login information each time.
2 Don’t Lose Your Photos
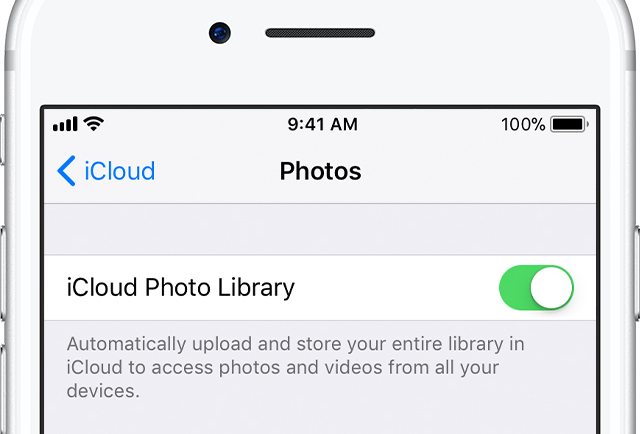
Using iCloud you can sync your photos across devices and save them in the cloud. Simply go to Settings > Photos and enable iCloud Photo Library and Upload to My Photo Stream. If you need even more memory for your photos, check out these awesome gadgets including this massive 128GB dual-interface Lightning flash drive to that connects directly to your iPhone or iPad.
1 Setup Your VPN
What is a VPN?
VPN is short for Virtual Private Network. It is essentially a private tunnel between you and your VPN service provider. A VPN is used to hide and obscure your web traffic so that only you can decipher the data that is being passed along. For example, if you are at a coffee shop, with a VPN, you can connect carefree with the utmost confidence that your data is being transferred securely; however, if you did not have a VPN, without a secure private tunnel between the web and you, you'd be right to be suspicious of who could be peeking at your web traffic.
Another reason why tons of users prefer to use a VPN and that is to view content that cannot be played in the area that they are situated. For example, Netflix content is region exclusive. Meaning, certain regions in certain places have certain limitations that allow specific content to play. In order to bypass this a VPN is utilized. When you connect to Netflix while you are on a VPN, Netflix is able to determine where your IP is located; therefore, displaying content that is exclusive to this region. Search for the best VPNs that fit you best here.
Top VPN for iPhone/iPad
How to set up?
- View & search the top VPNs that best fit you best here.
- Download the app and follow the instructions to sign in.
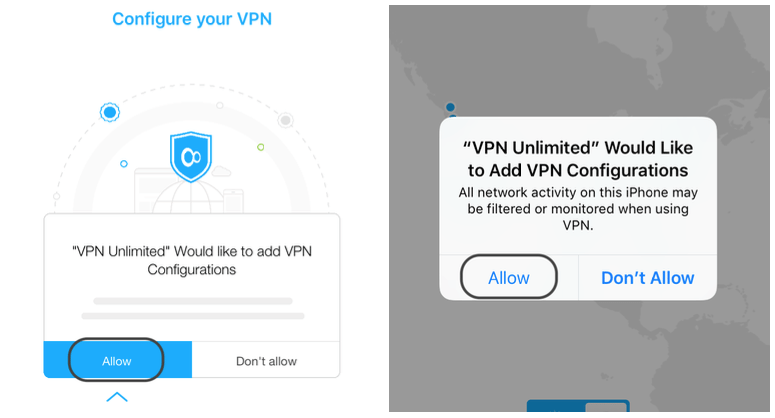
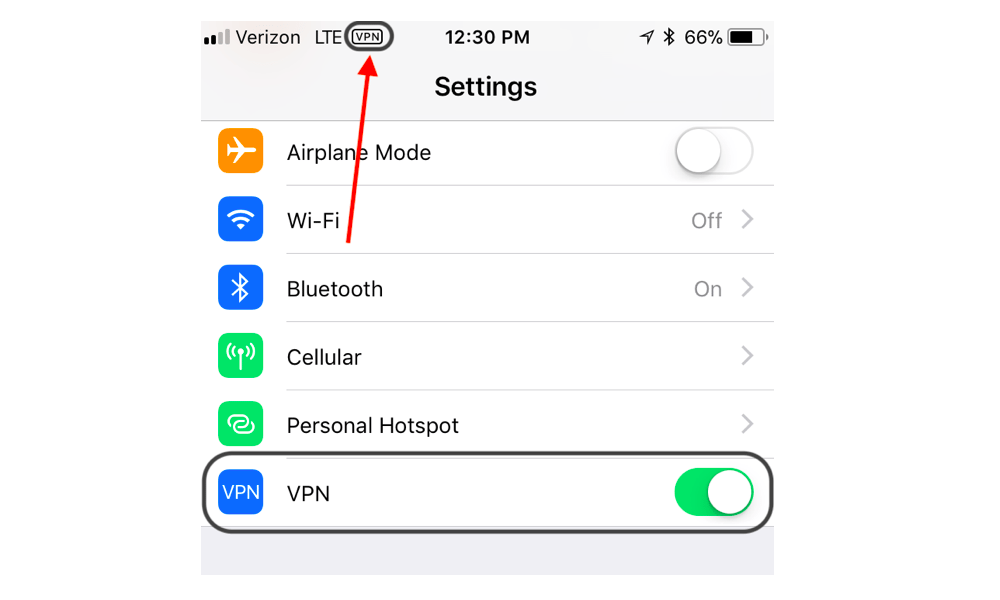
- Make sure you install your VPN over to your iPhone VPN settings by allowing VPN configurations.
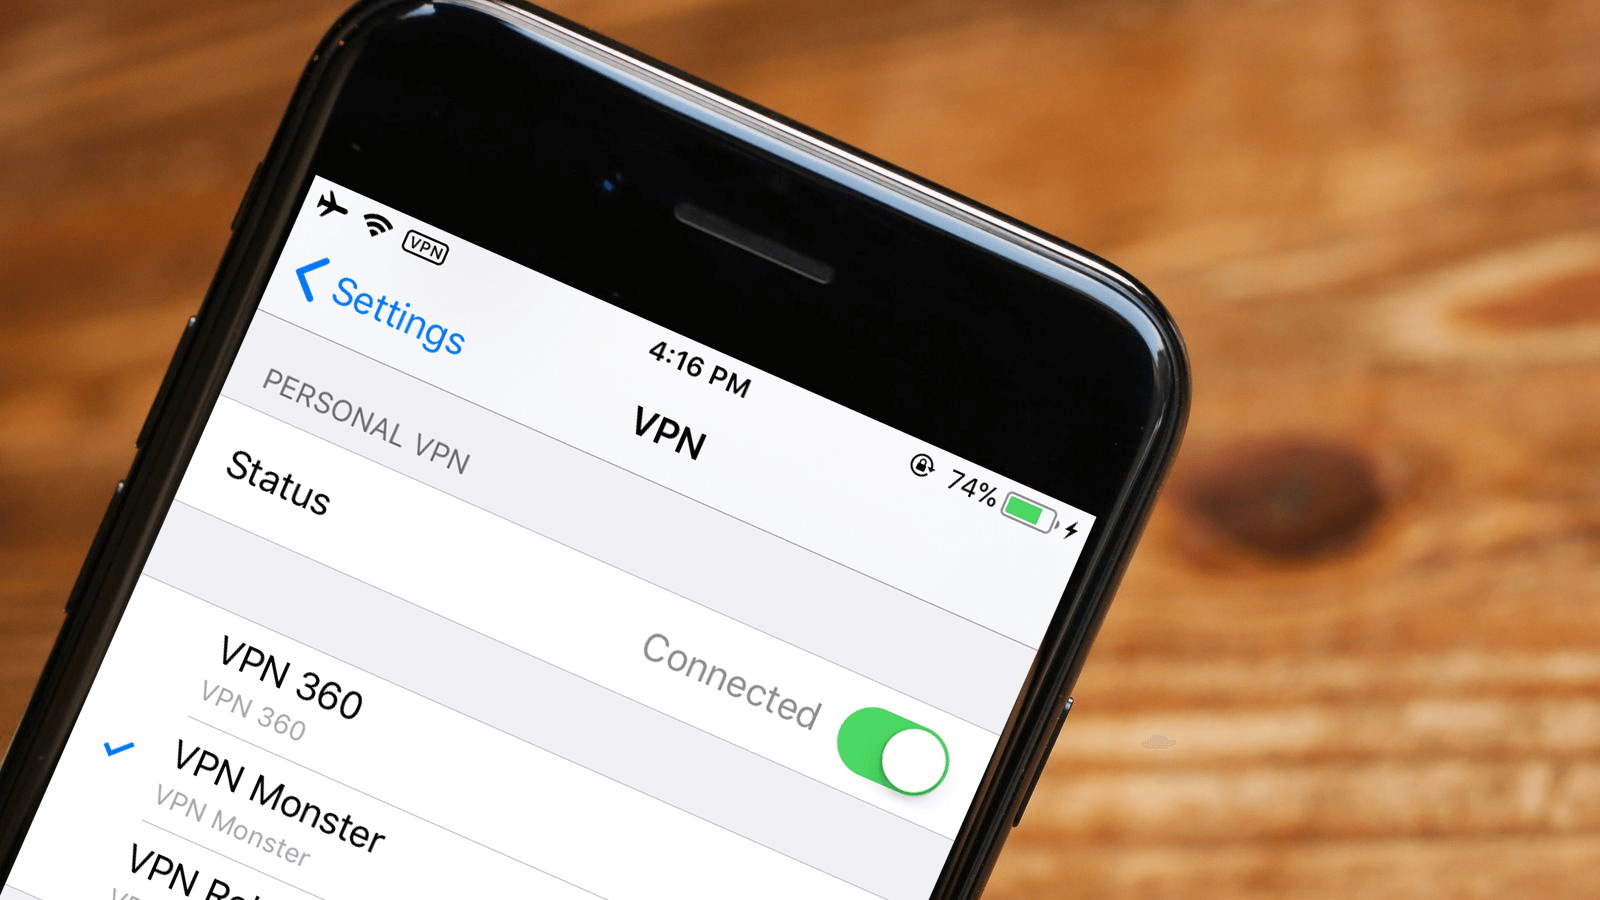
- Head over to settings and toggle VPN on.
- Enjoy a safe browsing internet experience.
? Messages
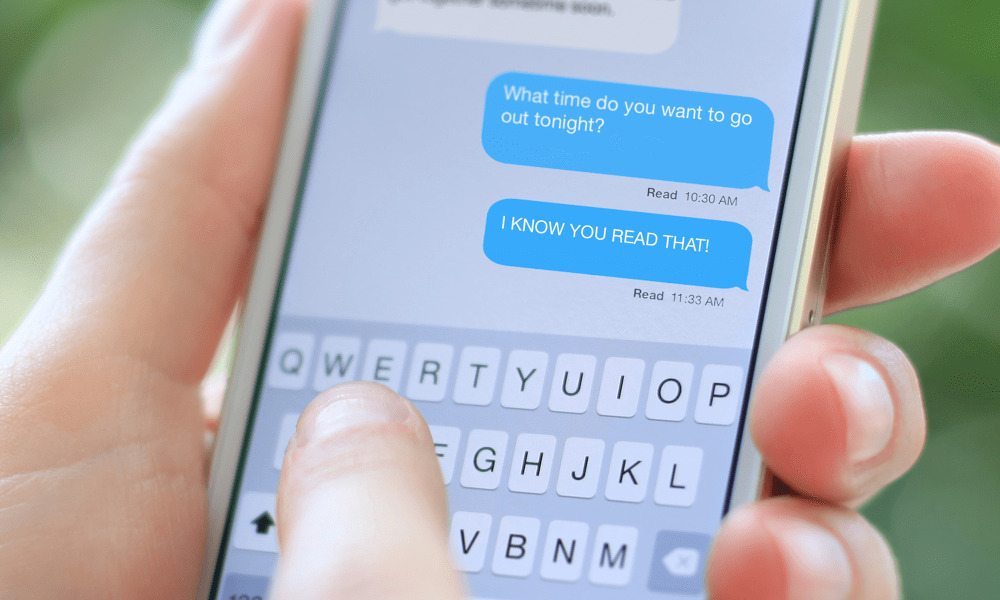
You’ve probably noticed that some messages say “delivered” or "read” under them. You can choose to let senders know when you’ve read their message by enabling read receipts. You can enable “Send Read Receipts” under Settings > Messages. Here you can also enable a character count, a subject field, or specify how long messages should be kept.
You can also choose to enable read receipts for specific people. In an existing message thread, tap the ?? in the top right corner to access the details sheet for the thread. Here you can choose to send read receipts or even hide alerts. You can also see attachments from the thread or share your location. The details sheet has even more options for group messages so be sure to check it out.
