
How to Use Apple Intelligence on Your Mac

Toggle Dark Mode
It’s been nearly a year since Apple announced Apple Intelligence. Even though Apple has been working on improving its new AI technology since then, it’s still hit or miss for many people.
But one thing’s for sure: Apple Intelligence is here to stay whether you like it or hate it. It’s also available on most modern Apple devices, including your Mac.

While Apple Intelligence is far from perfect, it does come with some cool features that are really helpful.
From the ability to create images instantly to summarizing long-form content, there’s a lot you can do with Apple Intelligence on your Mac.
If you’re still new to the world of Apple Intelligence, here’s everything you need to know about this new technology and how to use it on your Mac.
What Do You Need to Use Apple Intelligence on Mac?

While not every Mac supports Apple Intelligence, the bar is considerably lower than it is for Apple’s other devices. Apple Intelligence can run on any Mac with an M-series chip, also known as Apple silicon. This means you’re good to go as long as you don’t have an Intel Mac, most of which were last sold more than 3–4 years ago.
You can check which chip or processor your Mac has by clicking the Apple menu (the Apple logo) in the top left corner of your screen and then going to About This Mac.
Besides the hardware, you also need the right software. More specifically, you must have at least macOS 15.1, also known as macOS Sequoia. You can check your current software by going to Apple menu > System Settings > General > Software Update. If there’s a software update available, be sure to install it.
Now that you have checked everything you need, you can start setting up and using Apple Intelligence.
How to Turn On Apple Intelligence on Mac
By default, your Mac probably turned on Apple Intelligence when you updated it to macOS Sequoia, but if you want to turn it on manually — or turn it off for good — here’s how:
- Click on the Apple menu (Apple logo) in the top left corner of your screen.
- Go to System Settings.
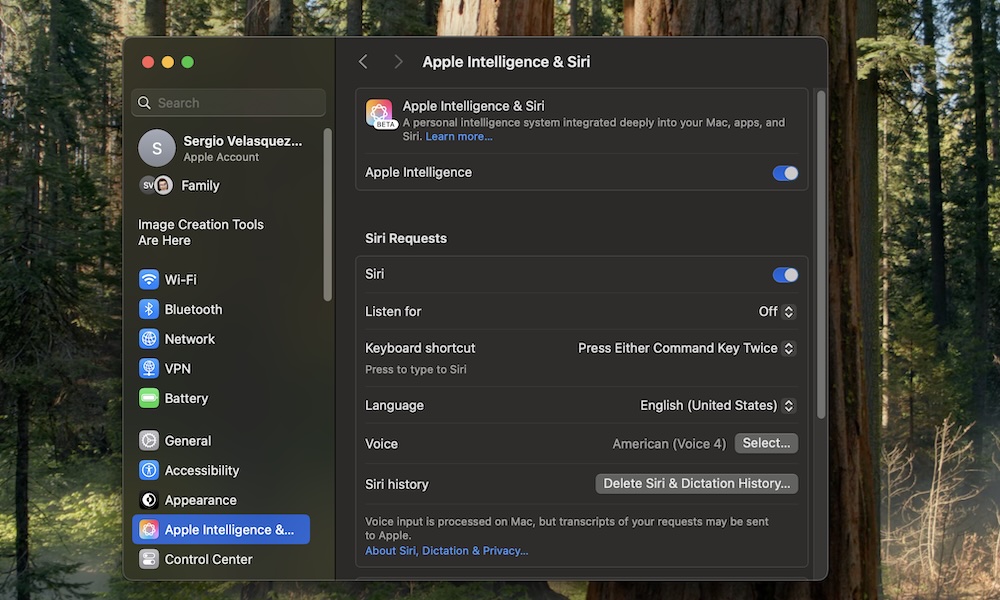
- Scroll down on the left sidebar and click on Apple Intelligence & Siri.
- Turn on Apple Intelligence near the top of the window.
And that’s pretty much it. Now, you can use all the Apple Intelligence features that are available.
Turn On the ChatGPT Extension
Unfortunately, Apple Intelligence isn’t as intelligent as Apple or its users would like, so the company added ChatGPT integration to improve your experience with AI.
With the ChatGPT integration turned on, Siri will ask if you would like to use ChatGPT whenever it can’t help you with your answer. This is entirely optional, but it makes Siri more useful. The good news is that you don’t have to create or use a ChatGPT account and won’t have to pay to use OpenAI’s chatbot. Of course, if you’re already subscribed to ChatGPT, you can log in to your account to make the most out of this extension.
Here’s how to turn on your Mac’s ChatGPT Extension:
- Click on the Apple menu (Apple logo) in the top left corner of your screen.
- Go to System Settings.
- Scroll down on the left sidebar and click on Apple Intelligence & Siri.
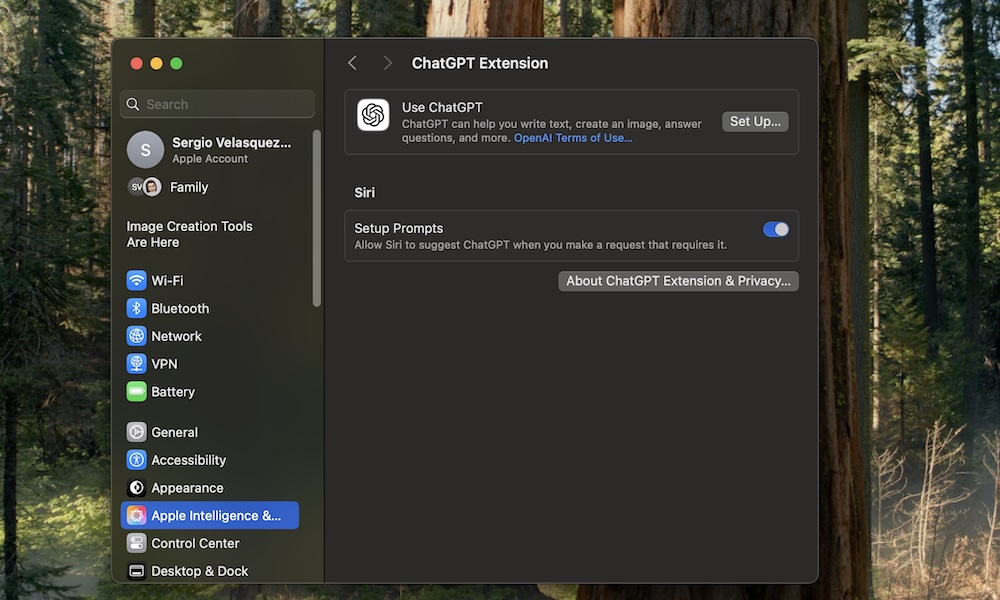
- Scroll down to the bottom, and under Extensions, click on ChatGPT.
- Click on Set Up.
- Click on Next.
- Finally, click Enable ChatGPT in the bottom right side of the window.
Now, you can use ChatGPT instead of Siri whenever you want. If you plan to use ChatGPT frequently, we recommend that you disable Confirm ChatGPT Requests so Siri doesn’t ask you for permission every time you want to.
Create a Siri Shortcut
Another great benefit of Apple Intelligence is that you can create a Siri shortcut. Sure, it doesn’t seem as impressive, especially since you’ve been able to trigger Siri with things other than your voice for a while now.
But now, this feature will let you quickly access Siri or ChatGPT without using your voice. Here’s how to set it up.
- Click on the Apple menu in the top left corner of your screen.
- Click on System Settings.
- Scroll down on the left sidebar and click on Apple Intelligence & Siri.
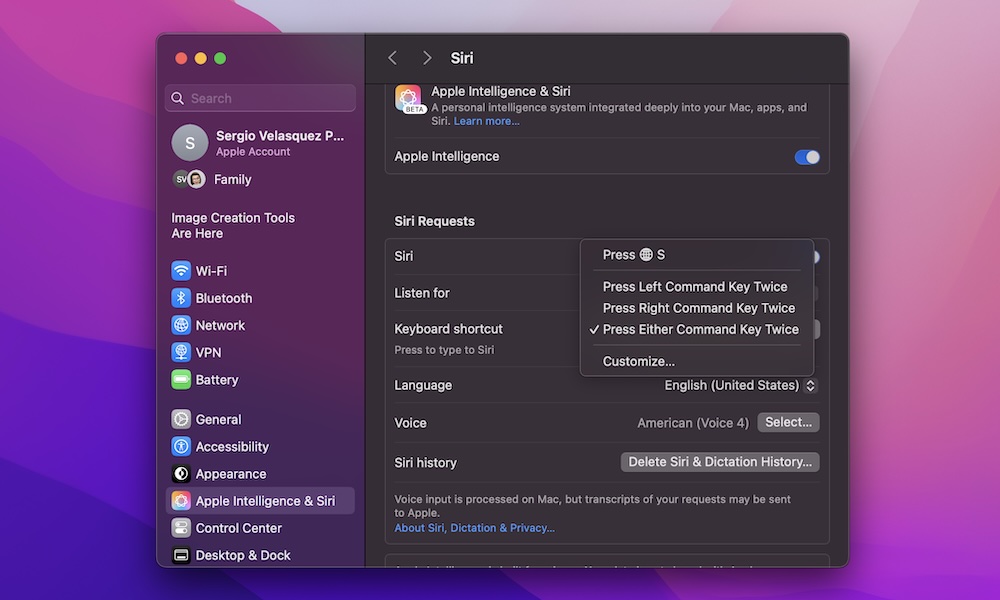
- Under Siri Requests, click the drop-down menu next to Keyboard shortcut.
- Select one of the default keyboard shortcuts or click on Customize.
After creating or setting the shortcut you want, press the keyboard shortcut. The first time you use it, Siri will ask you to confirm that you want to enable a keyboard shortcut. Click Enable Shortcut, and start using Siri, ChatGPT, and Apple Intelligence by typing your requests.
What You Can Do With Apple Intelligence on Mac
Granted, Apple Intelligence has had a rocky start. It took a while before all the features Apple promises were available, but some won’t launch until at least 2026.
That said, Apple Intelligence is already capable of a handful of things. Here are some of the most notable ways to use this new technology on your Mac.
Create Any Images You Like With Image Playground
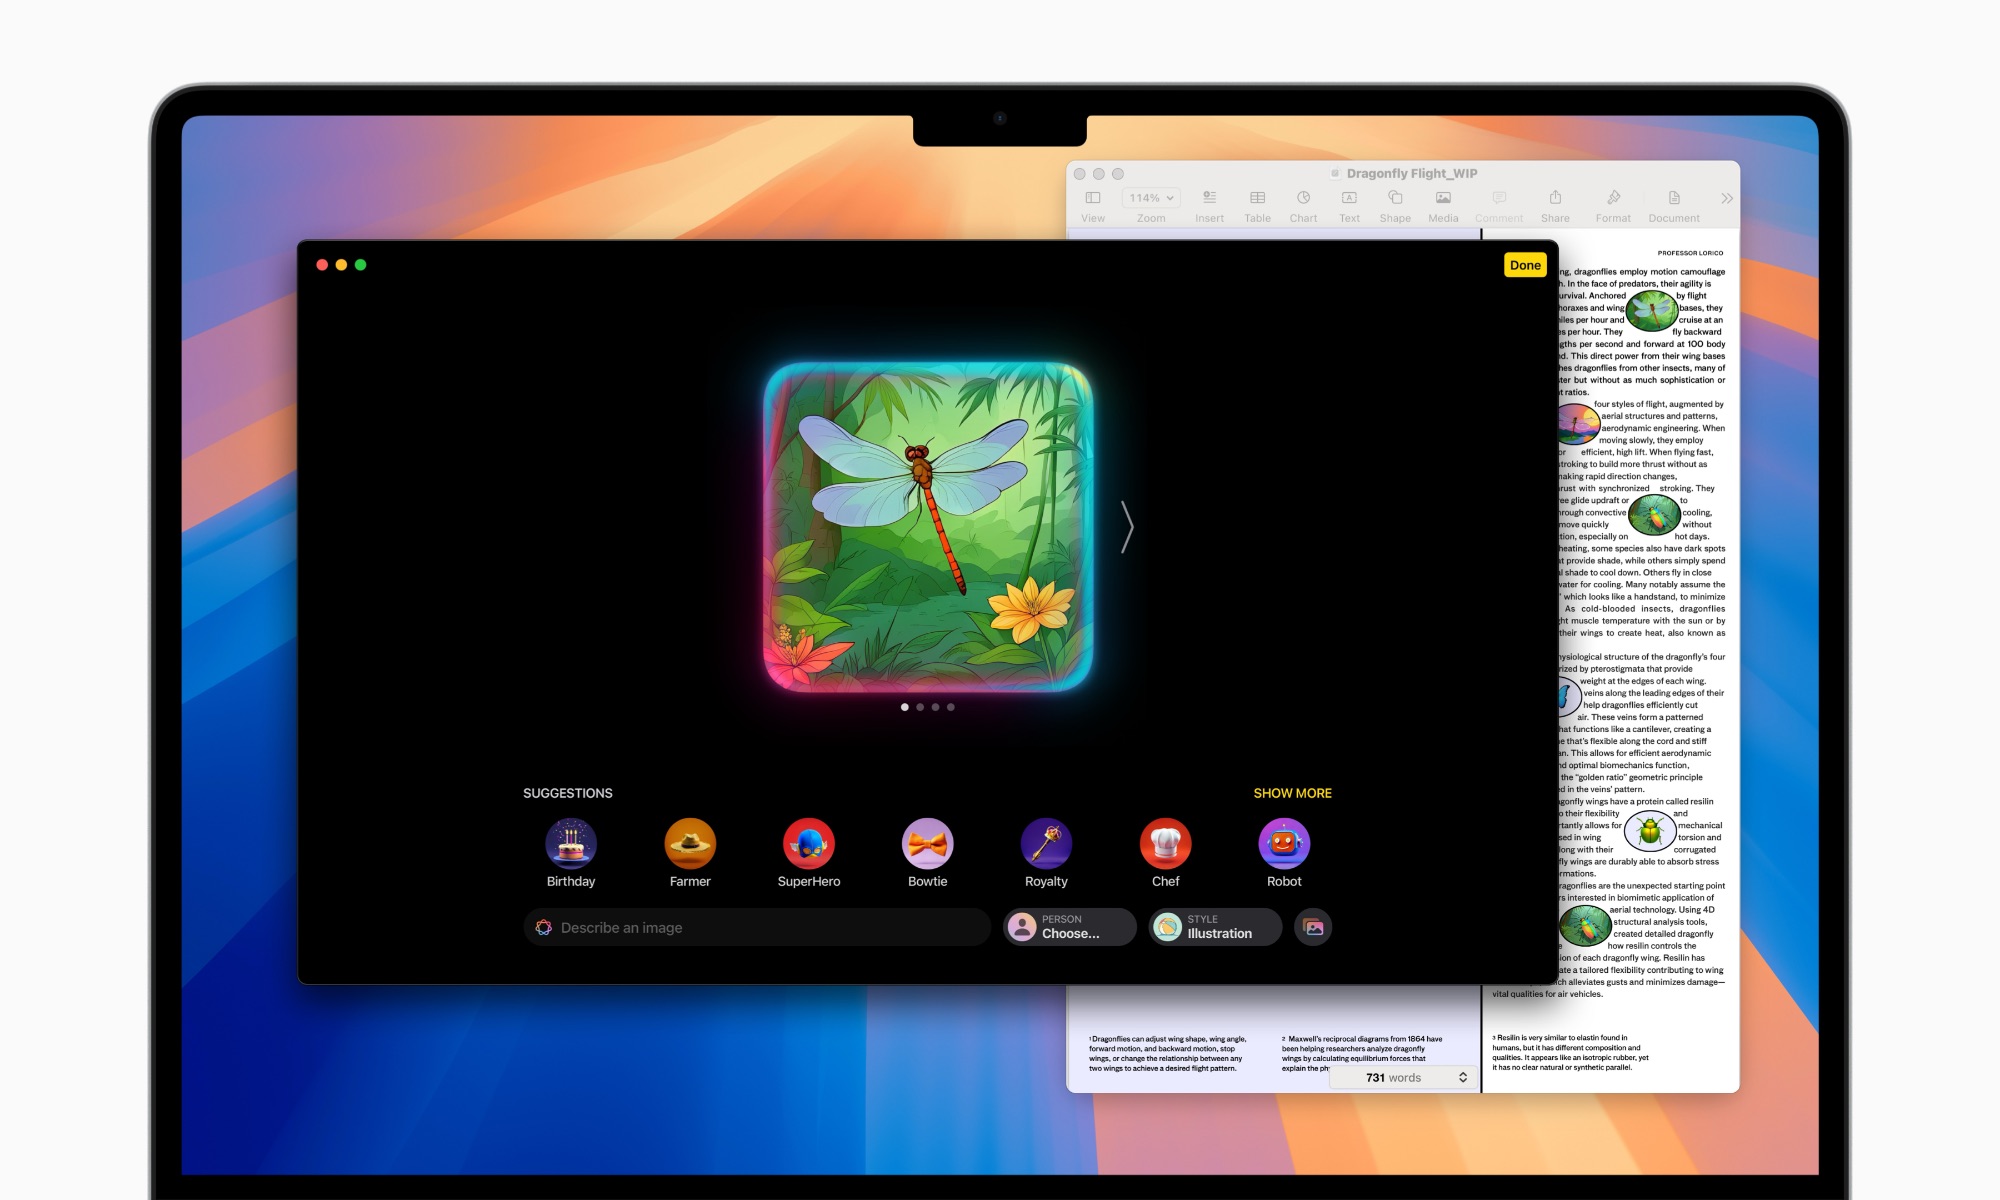
Image Playground is a new AI app from Apple. With this app, you can create an illustration in seconds and with a simple prompt.
For instance, you can ask for a hyperrealistic tree or a tiger running a marathon. Or you can create a more personalized drawing and ask it to draw your friends or family doing something.
Whatever you want to create, Image Playground will do it in seconds and give you a variety of different art styles to choose from.
To start creating images, open the Image Playground app and get creative.
Summarize Huge Chunks of Text
One of the best ways to use Apple Intelligence is for long pieces of text. Whether you have a really long email in the Mail app or want the most important bullet points from an article you’re reading in Safari, your Mac can create summaries in seconds.
Use Writing Tools
Besides summarizing text, Apple Intelligence can also help with anything you write. The Writing Tools features will help you change the tone of a message to make it sound more fun or professional, or you can use ChatGPT to create an incredibly engaging message or story by using a short prompt.
Or, if you already wrote a great message, you can use Writing Tools to proofread and edit your work instantly. Of course, this feature is still a work in progress, but it’s a great, quick way to let someone else take a look at your writing before hitting the send button.
Create Smart Replies Automatically
Another feature that’s really cool but still needs some work is smart replies. Now, you can create an automatic reply to a message in the Messages or the Mail apps. When you tap the text field in Messages or choose the reply button in Mail, you’ll get a quick suggestion based on the previous messages.
Don’t worry; you can check what Apple Intelligence wrote for you before sending it to ensure it isn’t just writing AI gibberish.
Use Apple Intelligence on Your Mac
Despite what most users say, Apple Intelligence can be a pretty helpful tool on your Mac. Sure, it can’t do your work for you yet, but it can help you create summaries, write responses, or edit your work.
Of course, if Apple Intelligence falls short, which it sometimes does, you can still rely on ChatGPT to get a more accurate and detailed response from a third-party AI technology that has been around longer than Apple Intelligence, making this new technology more than worth your while.


