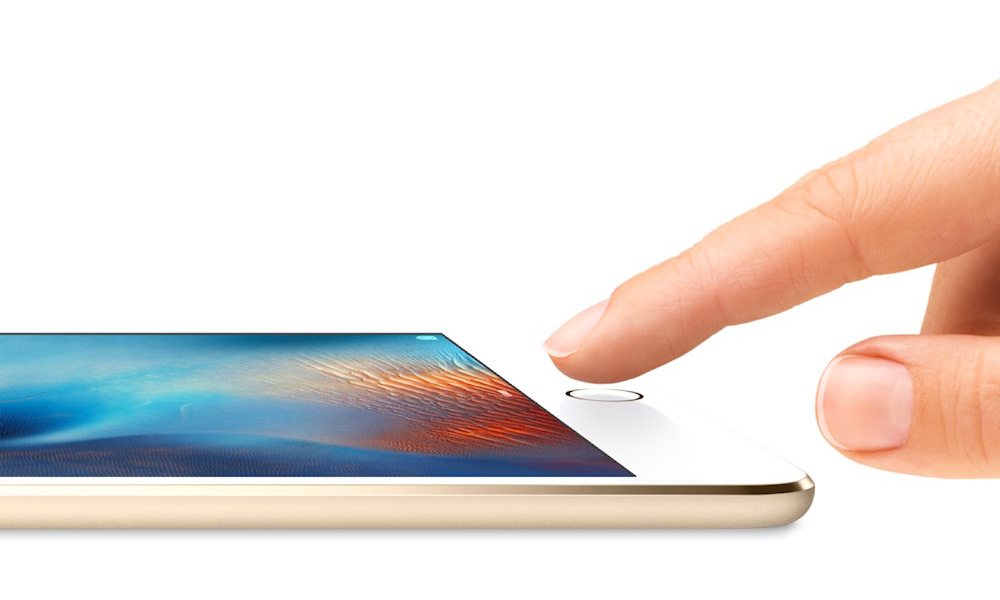
4 Tricks to Maximize the Usefulness of Touch ID on Your iPhone or iPad

Toggle Dark Mode
With its foray debut on Apple’s iPhone 5s back in 2012, Touch ID was inherently limited at launch. Apple wanted to revolutionize the way we interact with and access our iPhones — maximizing security, while at the same time, expediting certain processes that we’d typically carry out on a frequent basis.
Touch ID has stumbled upon its fair share of legal drama over the years and was fairly limited in terms of what it could do right out of the gate. However, Apple continues to develop, expand, and solidify its biometric fingerprint-reading platform, which was the byproduct of the Apple’s 2012 acquisition of AuthenTec for a cool $356 million.
So, what can you actually do with Touch ID? Has the technology really evolved so substantially over the years? Well, yes, Touch ID has evolved quite a bit — it’s now blazingly fast, and particularly useful as 3rd party app developers have increasingly implemented the feature.
Check out our list of 4 cool things you can do — and likely didn’t know you could do — using Touch ID in its current capacity.
1. Use Multiple Fingerprints
Often times we are cooking, or gardening, and one particular finger just isn’t exactly clean enough to embrace your brand new iPhone 6s’ Touch ID button. Well, that phone must be unlocked, and you’ve got other fingers that could do the job just fine.
This may seem a bit counterintuitive to some, sure, but to others — like those who’d prefer using other fingers to trigger Touch ID, isn’t it good to know you can do that if you need to? By going to Settings > Touch ID & Passcode > (**Enter your passcode**) > Fingerprints > and then Add a Fingerprint. You can register as many fingers as you have, or as few as you want — and they’ll all perform the same way!
2. Create Password Protected Notes
Our original write-up on this cool new feature in iOS 9 is considerably more comprehensive. But, in essence, you can create Notes via Apple’s Notes app, and then save them under Touch ID protection. Simply start a new Note, enter information, and then (ensuring your Touch ID-capable iPhone or iPad is upgraded to iOS 9.0 or later), just tap once on the open lock icon in the upper-right-hand corner of the screen to lock your Note.
3. Scan Someone Else’s Fingerprint (In Case of Emergency)
Perhaps this one is another seemingly counterintuitive trick.. But did you ever stop to think what would happen to your iPhone (and, not to mention, all its content) in the event of an Emergency? Certainly, we’re not wishing bad fortune on anyone, but wouldn’t it be nice to have a backup — someone you know and trust so intimately, that you wouldn’t mind giving them total access and control in the event you couldn’t do it yourself?
Well, sure it would — better safe than sorry, right? To scan someone else’s fingerprint as a backup, simply navigate to Settings > TouchID & Passcode > (**Enter your Passcode**) > Fingerprints > and again, Add a Fingerprint — ensuring that your trusted companion runs their finger through the standard scanning process.
4. Faster Access to Your Money
While this isn’t in any way a “universal” feature, most of the big-name banking institutions — including Chase, PayPal, Wells Fargo, Bank of America, and many others — have recently begun implementing Touch ID instant sign-on to access your financial accounts via the institution’s mobile banking app. You’ll have to independently verify that your bank (or other password-protected, 3rd party app) is Touch ID compatible. Not all are, unfortunately, but you’d be surprised by the sheer number that have warmed-up to the technology over the years. Switch the Touch ID feature on within your banking app’s settings and voila! Banking has never been quicker!
What are your favorite Touch ID tips and tricks? Let us know in the comments!


